Having your trailer lights working is crucial, but what do you do if they fail on Sunday afternoon as you’re leaving for the long drive home after a weekend away?
Here is a quick-and-easy four-step guide to replacing your LED trailer lights using a standard 12V kit available in most auto or major department stores. For anything more technical, we suggest you consult an auto-electrician.
What you’ll need:
- New set of 12V lights
- Basic mechanical tools
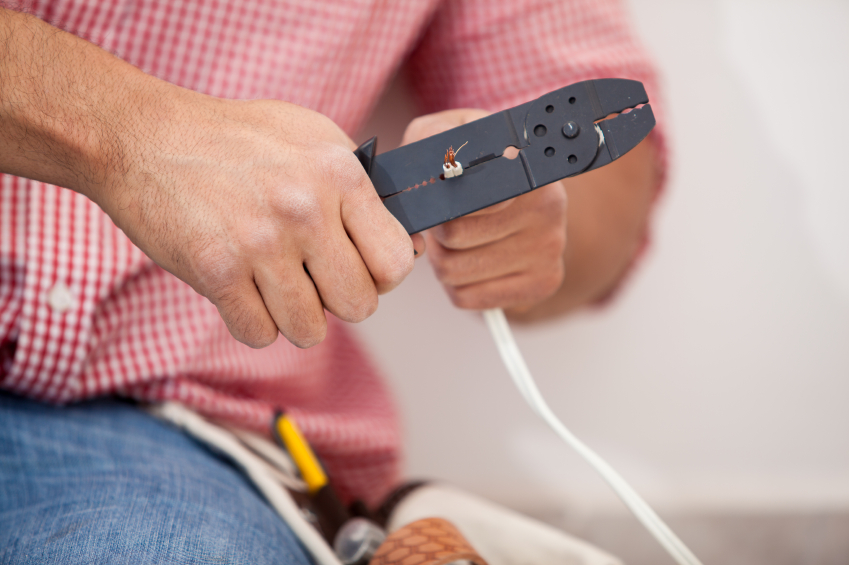
- Wire strippers
- Electrical tape or heat shrink.
1. Remove old lights
- Unscrew trailer lights and disconnect or cut the wires just behind the connection.
- Check the existing wiring is still in good condition.
- Strip 1–2cm of insulation from all wires.
2. Mount the lights
- Connect the trailer to the towing vehicle.
- Remove the new lights from the LED trailer light kit.
- Mount one light on either side of the trailer in the same location as the old lights. If there is a clear plastic section on the side of one of the lights, place it nearest the numberplate.
- Depending on the kit, each light will have bolts fitted or holes ready for the bolts. Align these with the holes on the trailer; slide the bolts or screws through and secure.
3. Connect the wiring
- If you’re planning on using heat-shrink tubing to seal the joins, slide a strip over each existing wire before connecting them.
- Connect a wire of each colour on the light to that of the same colour on the trailer wiring. Twist firmly. Note: if the colours don’t match and you’re ever unsure, check with an auto-electrician before proceeding.
- Tighten the housing onto the trailer, applying just enough pressure to ensure connection with the earth wire (if present) but not enough to crack the plastic housing.
- Repeat for the second light.
4. Test the connections
- Connect the trailer plug to the socket on the tow vehicle and test all the lights.
- Here it helps to have someone else turn the lights on and test each one at a time (left-turn signal, right-turn signal, brake lights, reverse lights) while you watch.
- When you’re happy everything works, slide the heat shrink over the joins and apply heat to seal. If heat shrink is not available, seal the connections with electrical tape to keep moisture and dirt from entering and then tuck them up out of sight.
Apart from age, there are many things that can stop the lights on your trailer from working, such as corrosion, water damage or a collision.
So while installing a new kit might have them working again this time, it is best to consult an auto-electrician for a complete check-up before your next trip away.
Check out the legal requirements for lighting on your trailer.