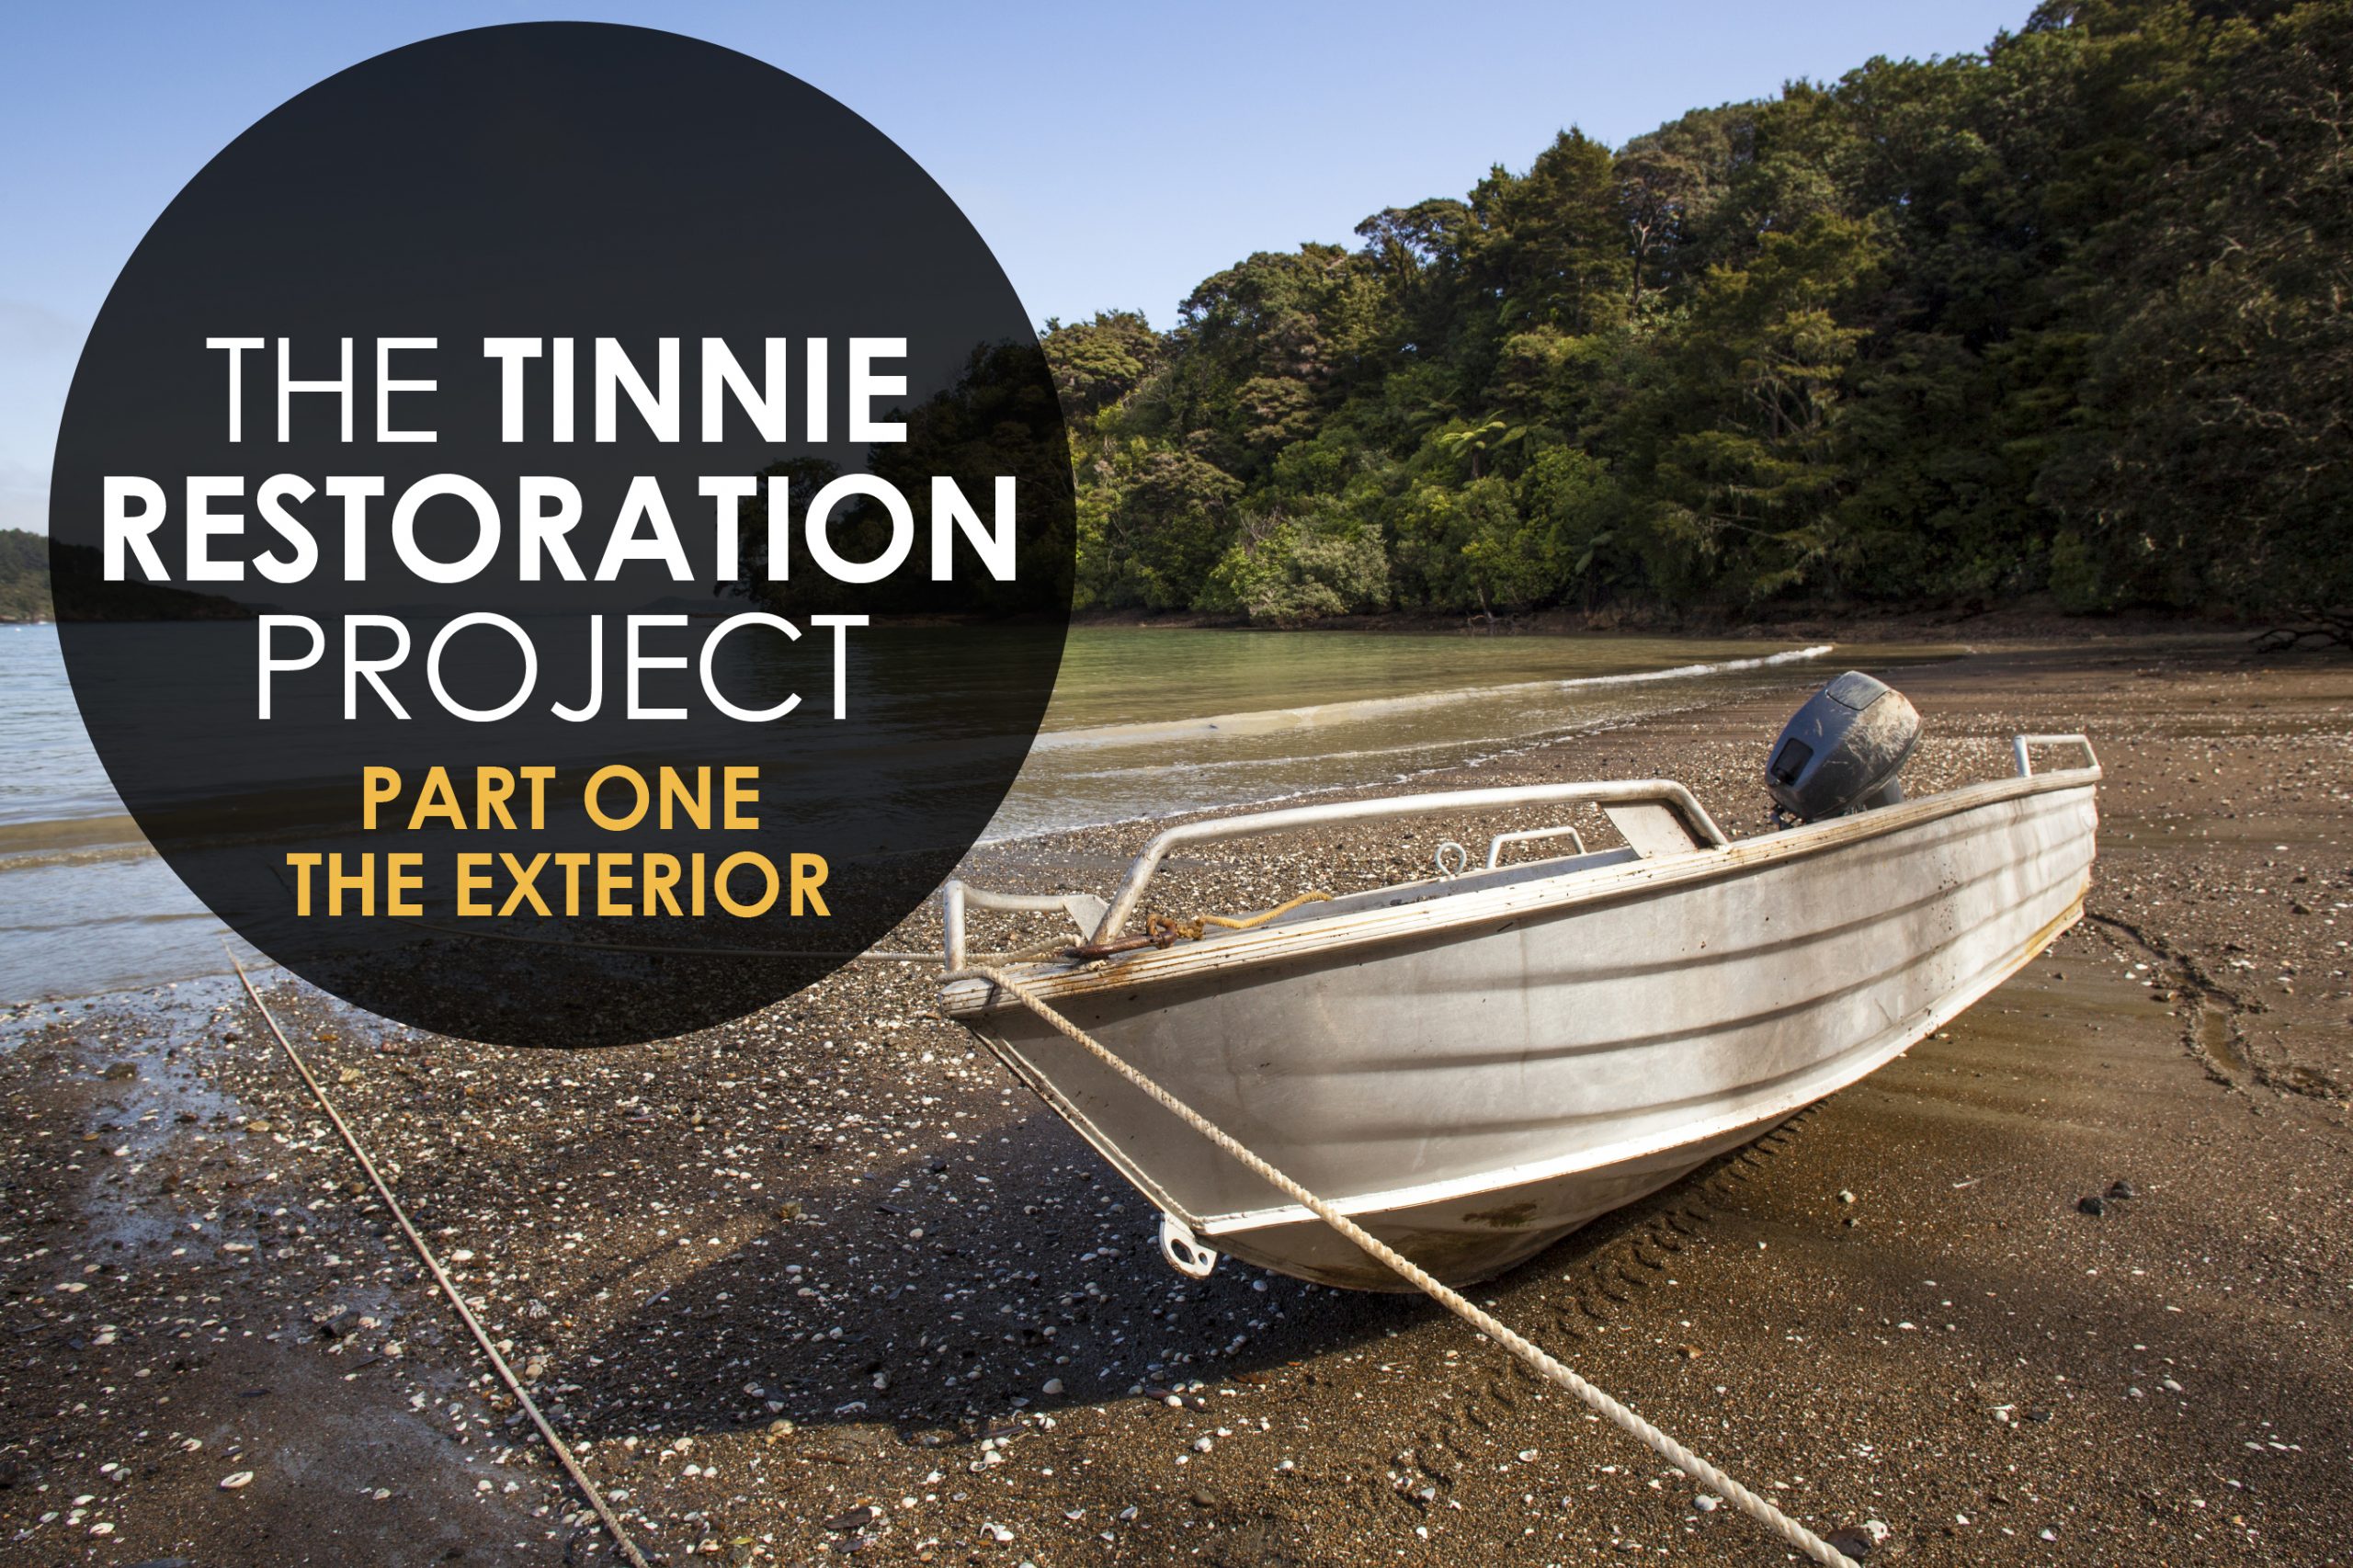
So you’ve read “Could you build your own tinnie?” and want to have a go at repairing your own boat? This first article in our three-part series looks at restoring the exterior of the hull, including repairing leaks and painting.
Before you start on your tinnie restoration, check the structure thoroughly to make sure it is actually salvageable. If there’s a lot of damage from rust or exposure to seawater, you may find that when you patch one spot another will appear. While you’re there, take a good look at the propeller to see if the outboard motor needs to be replaced.
Repair it
Cracks and holes in your tinnie’s hull will most likely need to be welded, so if you don’t have the experience or the right gear, clean the boat up and take it to a professional. Conversely, if you have the time and inclination, take a course in welding at your local TAFE or university so that you can continue to make repairs as they’re needed.
If the boat is in really poor condition, spot welding to fix holes might just make things worse, in which case you may need to consider replacing entire panels of aluminium. Smaller holes or cracks are best repaired by welding aluminium over the top, rather than patching them with epoxy; on the other hand, holes caused by missing rivets can usually be fixed by simply replacing the rivets using a high-grade marine silicone glue, so long as there is no sign of rust.
An easy way to test the hull for leaks is with soapy water and compressed air. Have a mate brush or spray the soapy water along the outer hull while you blow air at the corresponding spot on the inside, marking any holes as they appear.
Paint it back
Sandblasting and painting an aluminium boat involve highly toxic materials, so these are also good jobs to hand over to the professionals. If you want to do it yourself, here are the basic steps required:
- Remove old paint layers with a sandblaster using wide, gentle sweeps. Take care to not concentrate on any particular area, as alloy is very thin and you could cause damage to the hull.
Note: Do not start sanding the hull unless you’re ready to paint immediately, as oxidisation sets in very quickly. - Clean the surface with methylated spirits.
- Apply primer (usually an epoxy undercoat) to the entire hull, using a brush, roller or spray and building up with a couple of coats.
- Allow it to dry thoroughly, then rub or lightly sand back.
- Delineate any strips and colours with masking tape then apply the top coat. Start by hand-brushing the details, then move on to either rolling or spraying.
Now that your tinnie is seaworthy again, it’s time to work on the interior. Our next article in the series looks at replacing the flooring and seating and adding some handy features.
Would you like a trailer to go with that boat? Read our guide to selecting the right one for your needs.