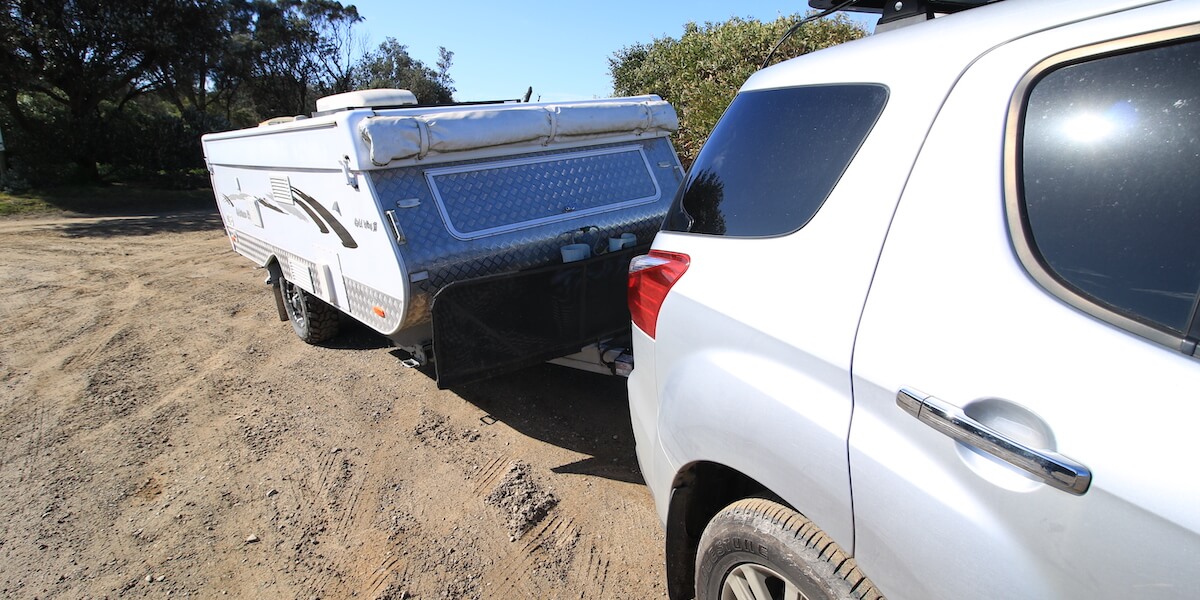
If you’ve discovered during a routine maintenance check that you have a leaking caravan roof, it has to be fixed quickly, before too much damage is done. Here’s how to fix a caravan leak:
1. Locate the leak
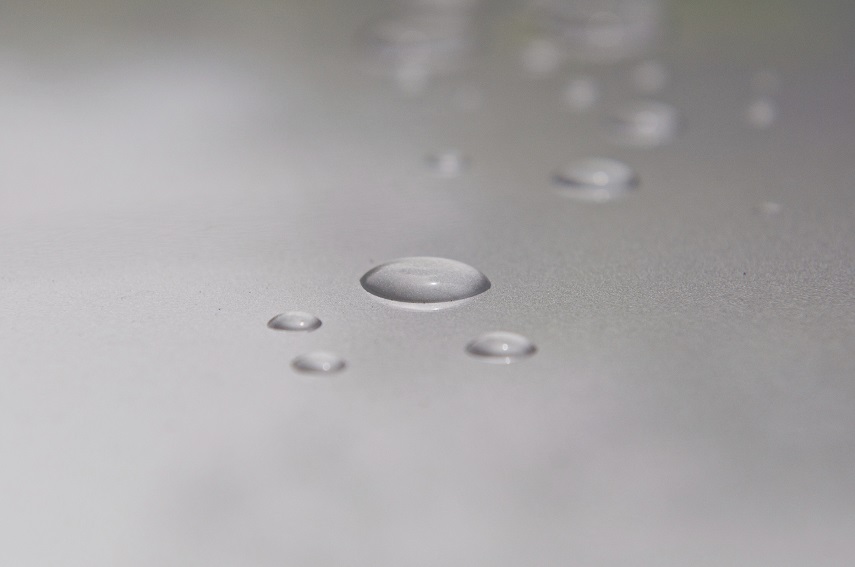
Your roof is most likely leaking at a weaker point – for example, a join (or seam if you have a canvas element to your pop-top caravan) – so check those spots first. You might be able to find the leak by evidence of water damage, however this isn’t always an accurate indicator of the exact place the water is getting in through. In some cases, you’ll need to use some detective skills to investigate further. The most common way of finding a leak is to wet the caravan roof and watch for the points the water is seeping through.
2. Seal the roof leak
What you’ll need to use to seal the leak depends on the size of it. For a small leak, silicone will do the job nicely, but it might not be tough enough to withstand larger failing areas. For those, you should get your hands on a strong protective sealant, which is usually painted onto the roof. It’s also a good idea to do this if you haven’t been able to identify the exact leaking spot. When in doubt, you’re better to be safe than sorry – or soaking wet in the middle of a rainy camping night!
If it’s a canvas element on your caravan that’s leaking, get your hands on a sealing kit or patch it up with some extra canvas.
3. Check for further damage
If the leak has been there for a while, there might be further evidence of it. Water damage may have left behind some mould, mildew, damp spots, or puddles in corners of your caravan or its storage areas. Here are some tips to help you get rid of and prevent mould from coming back into your caravan (link to article: How to reduce and prevent mould and mustiness in your caravan).
The final step is to check that your repair job has been successful, by spraying the caravan down and looking at the interior for water leaking through. As well as keeping an eye on your repair job, don’t forget to look out for further leaks while you’re at it. And if you find any more leaks, well, it’s back to step one.
Now you know how to fix a caravan leak, it’s back to enjoying dry adventures in your newly rejuvenated portable home. Or maybe it isn’t time to sit back just yet, if you still have a few more jobs on your caravan DIY list.