Water ingress into caravans can be a huge issue as it has the potential to cause expensive damage to your pride and joy. Window seals are a common culprit of leaks but, luckily, they’re quite easy to fix. It’s a do-it-yourself job most people could manage with a few ordinary tools and a couple of spare hours. Glynn Magain from the RV Repair Centre in Bayswater North, Vic, said there wasn’t much that caravan owners could do to prevent window leaks, as it really came down to how well the window was sealed in the factory. Re-sealing a leaking window involves removing the window from the van, removing the old sealant – whether it’s silicone, foam tape or both – cleaning the window, re-sealing and re-inserting the window.
ON WITH THE JOB
First, assemble the equipment you’ll need (see list below) for the job so it’s all close to hand.
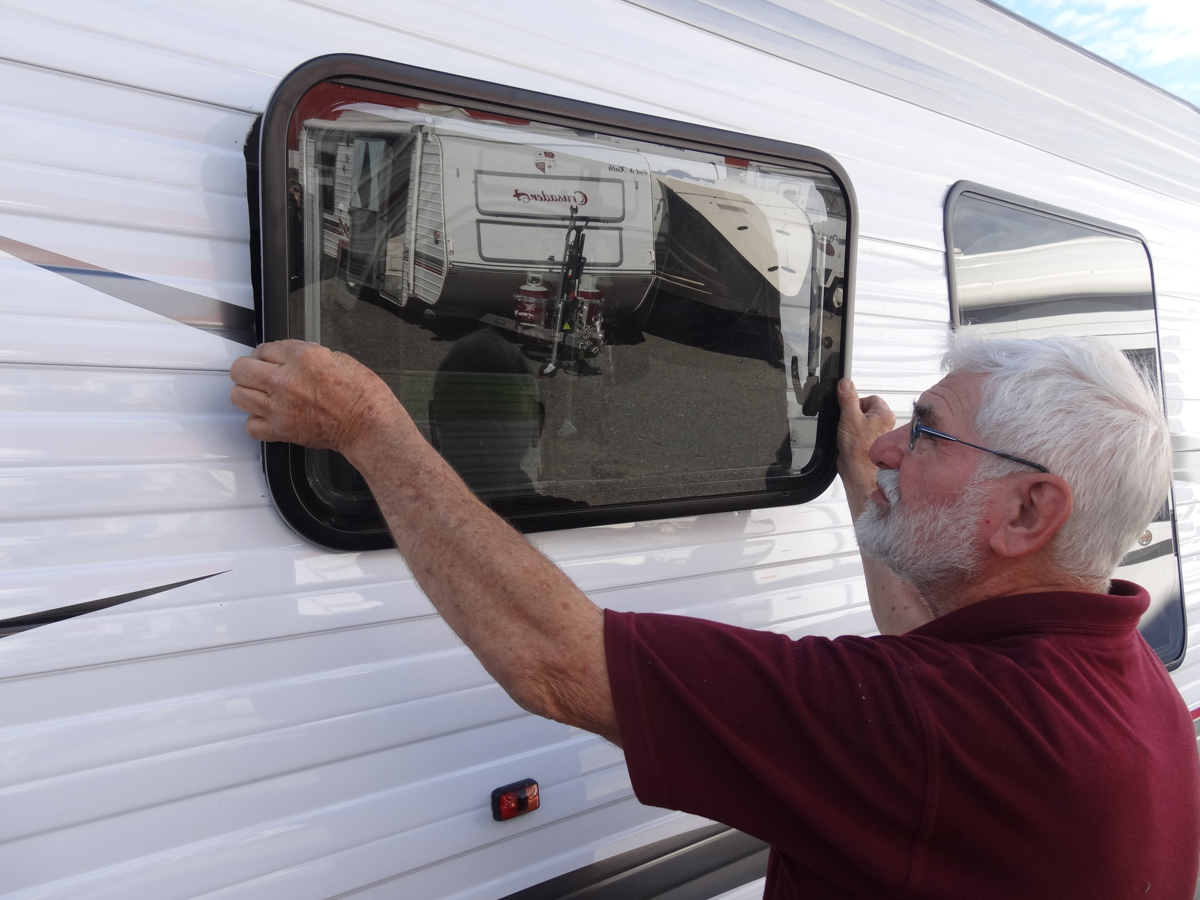
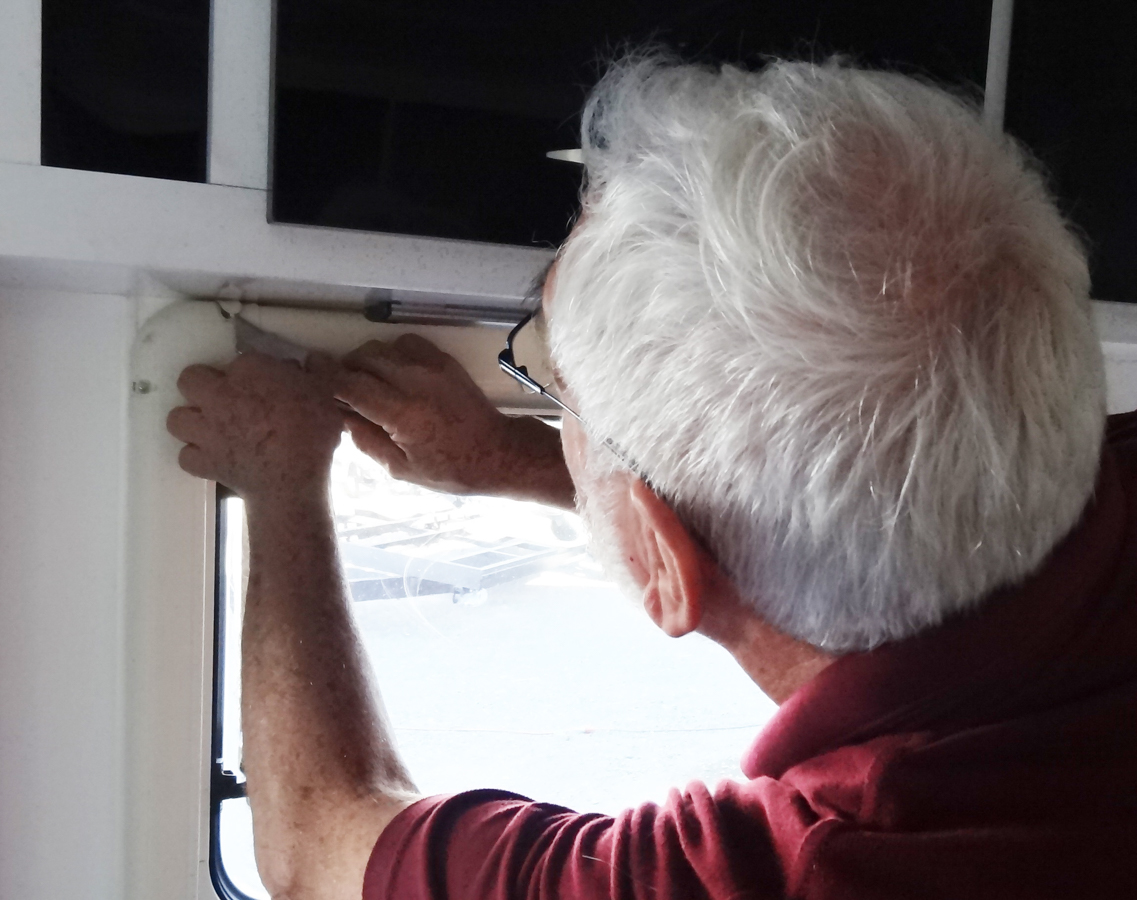
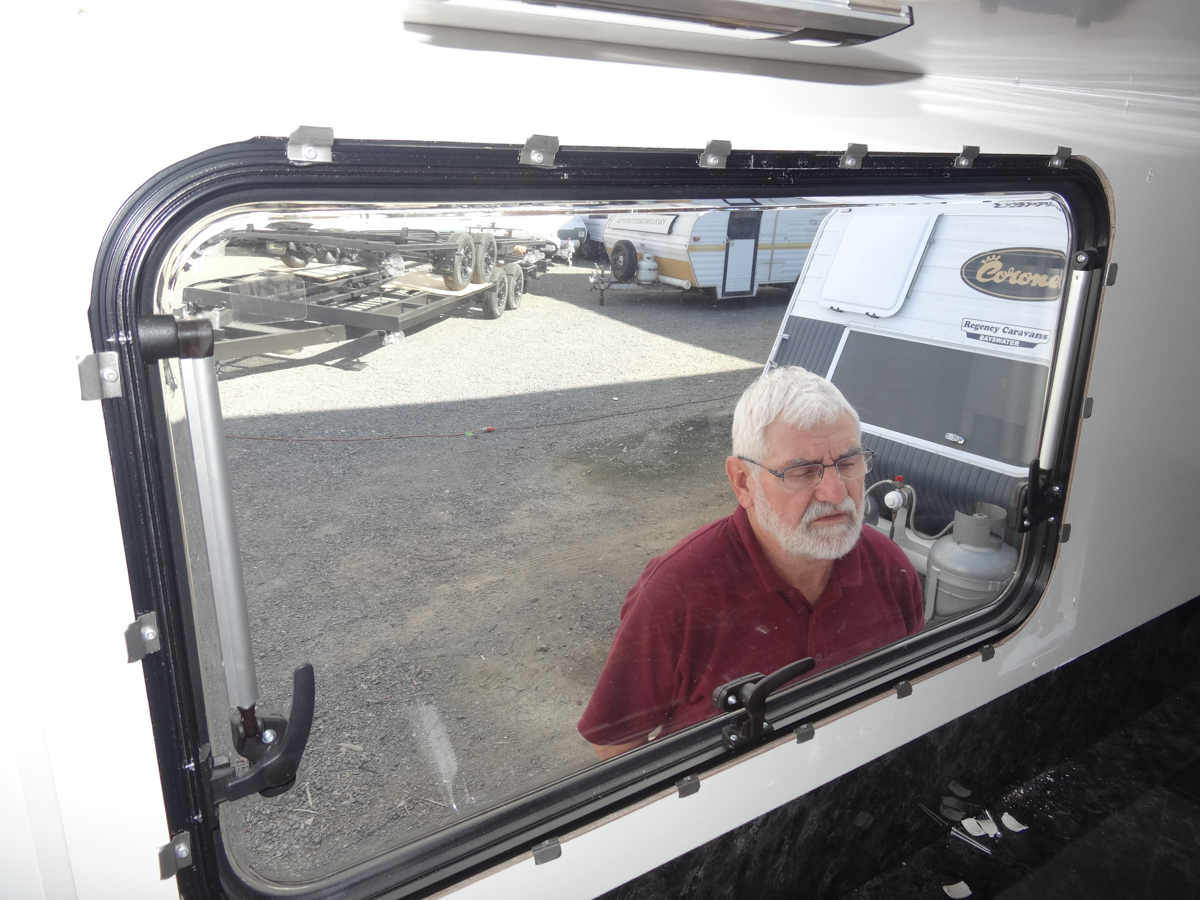
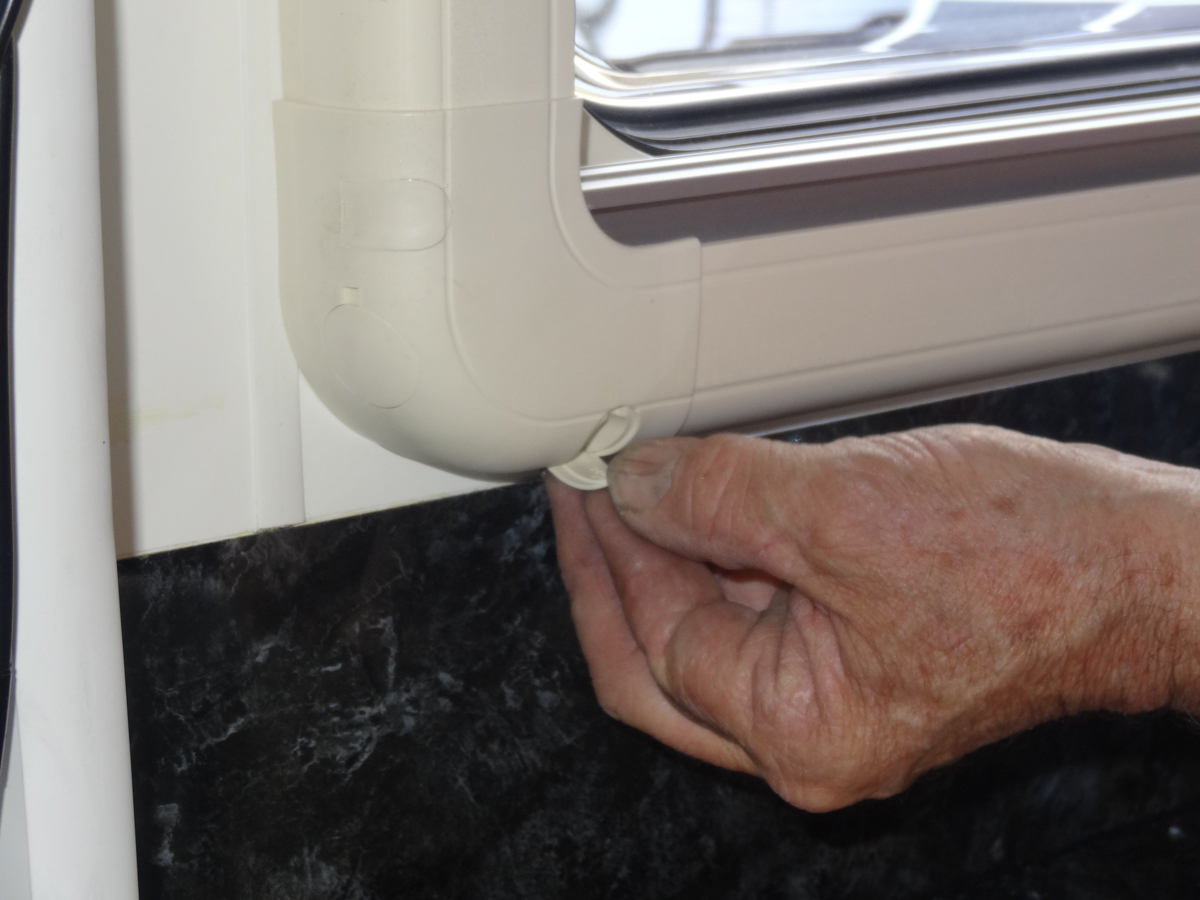
The windows on this van weren’t actually leaking but the RV Repair Centre, who helped with the preparation of this article, nonetheless offered to show us how it’s done. The van had new Dometic windows, with the glass on the outside and a cassette containing the blinds and insect screen on the inside. According to Glynn, these windows should be less prone to leaks than older wind-out-style windows. Head inside the van and start popping off the plastic coverings, which cover the screws on the window cassette. You should be able to pop these off easily with your fingers but if they’re tight or for those hard-to-reach ones at the top, use a flat blade to carefully dig them out.
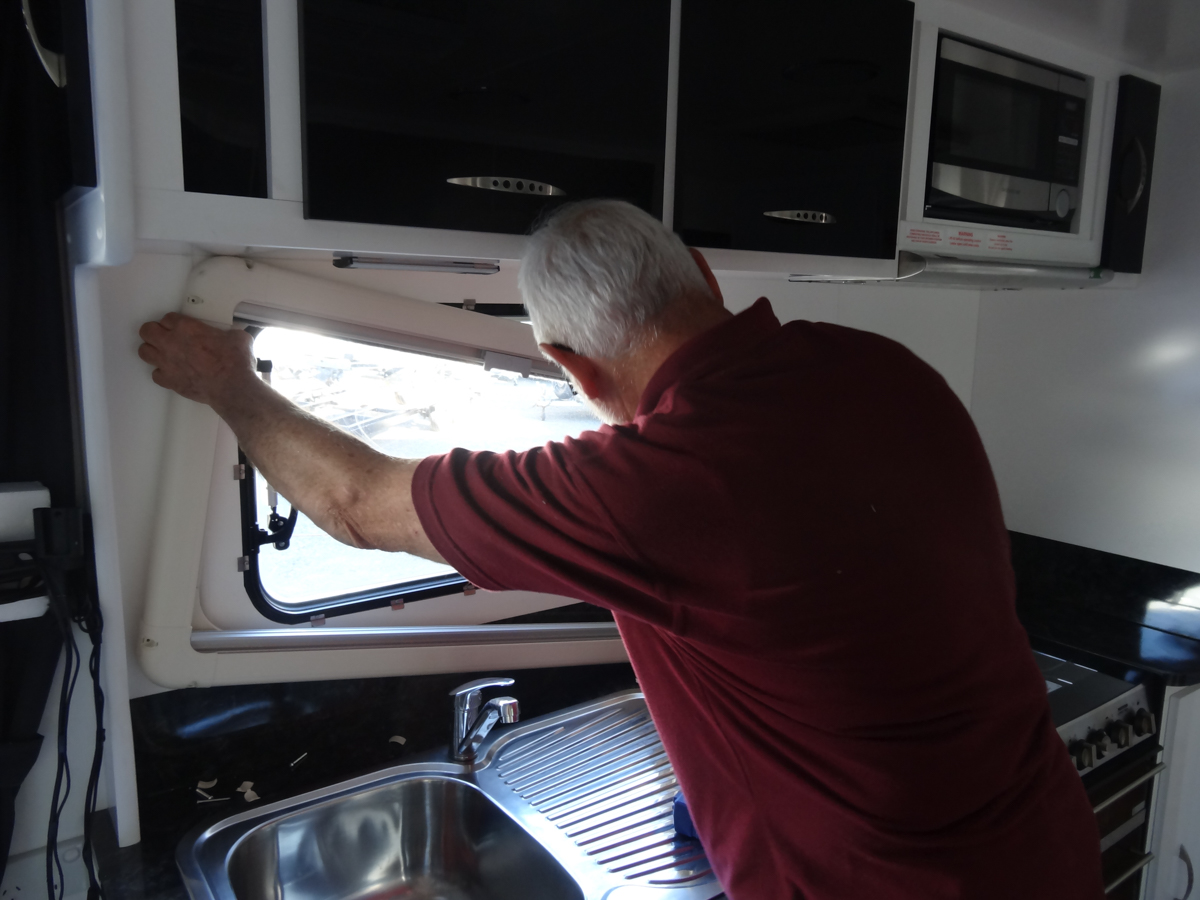
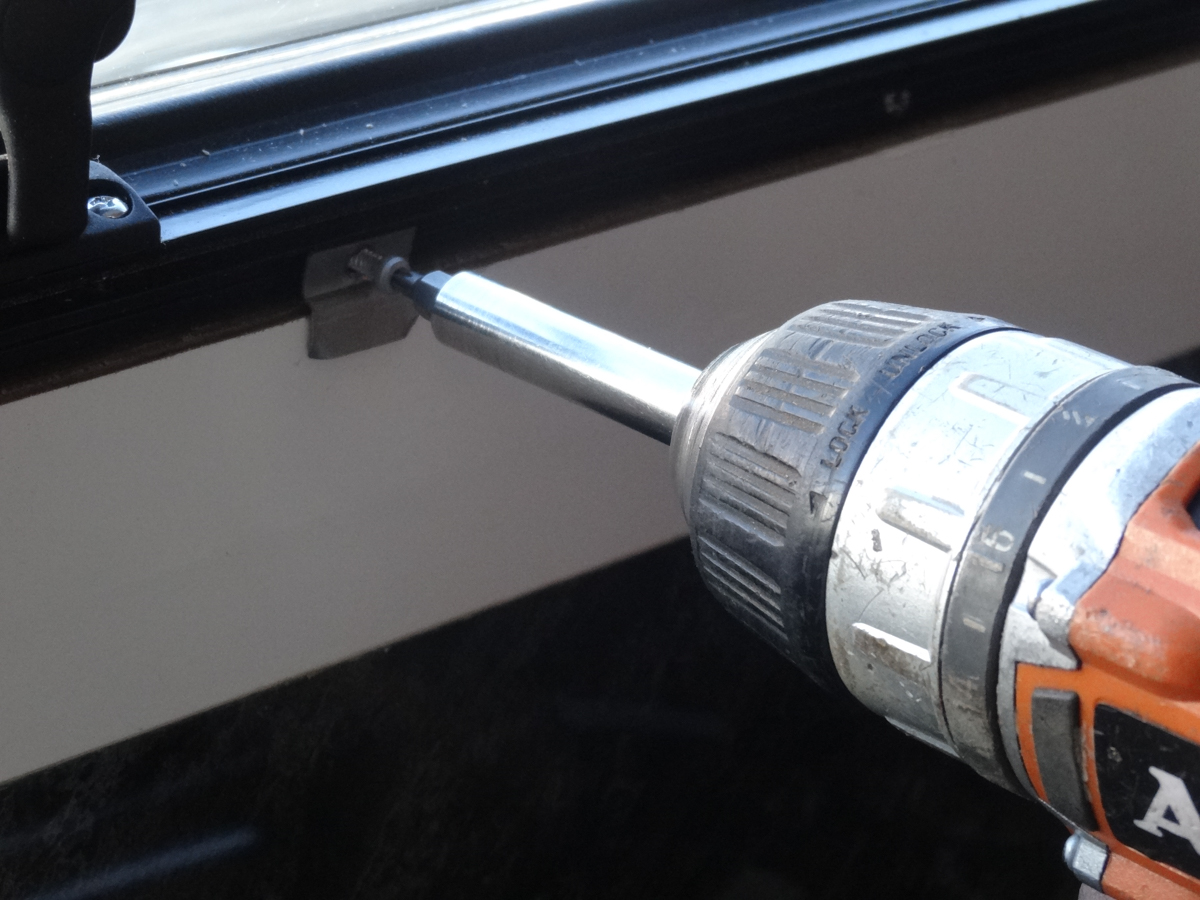
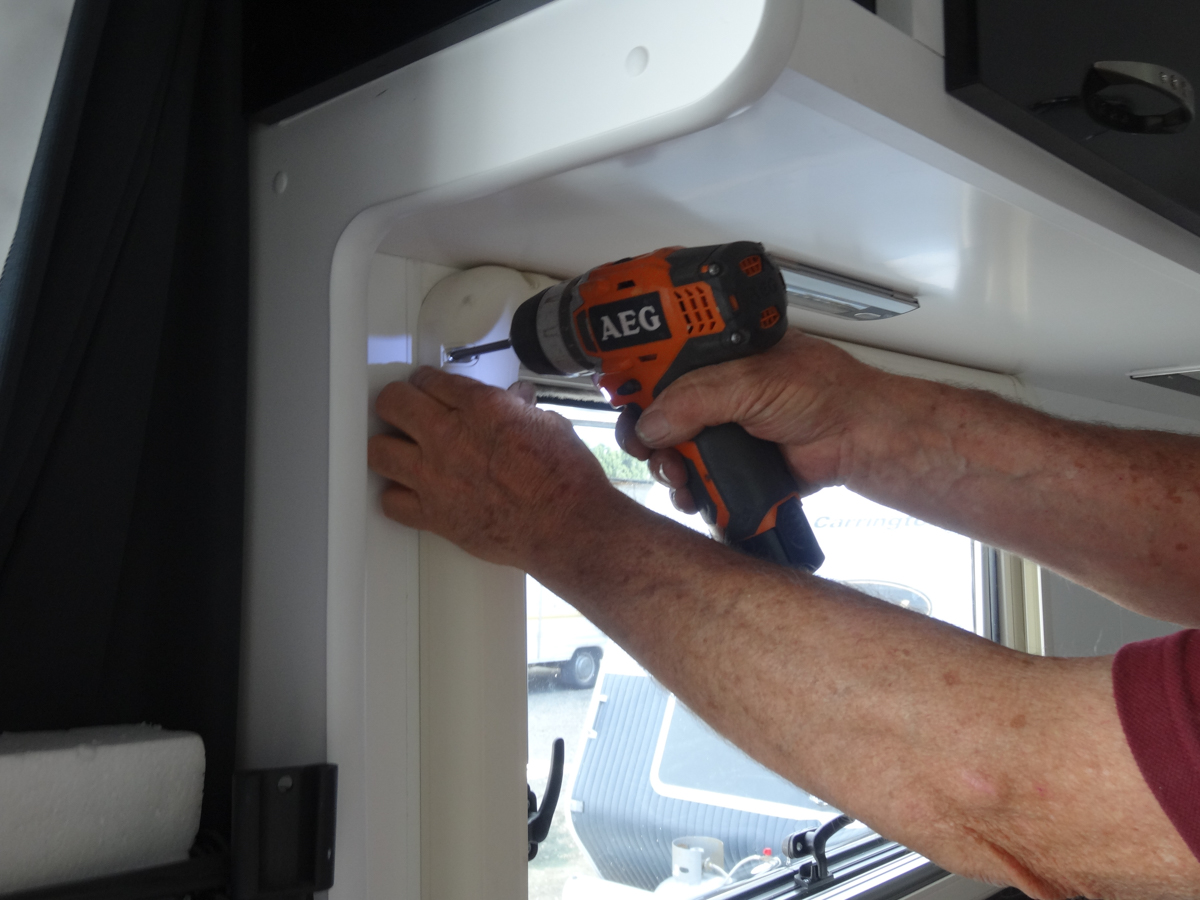
Next, remove the screws with a drill fitted with the appropriate bit. You can then lift off the window cassette and put it somewhere secure. Attach the Torx bit to your drill and use it to remove the window clips that hold the window in place. The type of clips used differs between windows, brands and van, and some will only require a regular screw bit. Others, like these Dometic windows, are secured with Torx screws because they’re more tamper-proof.
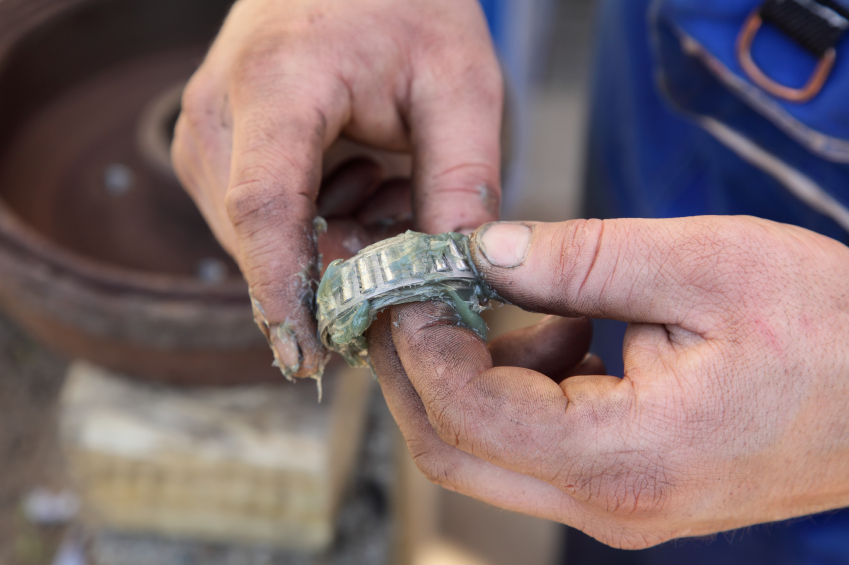
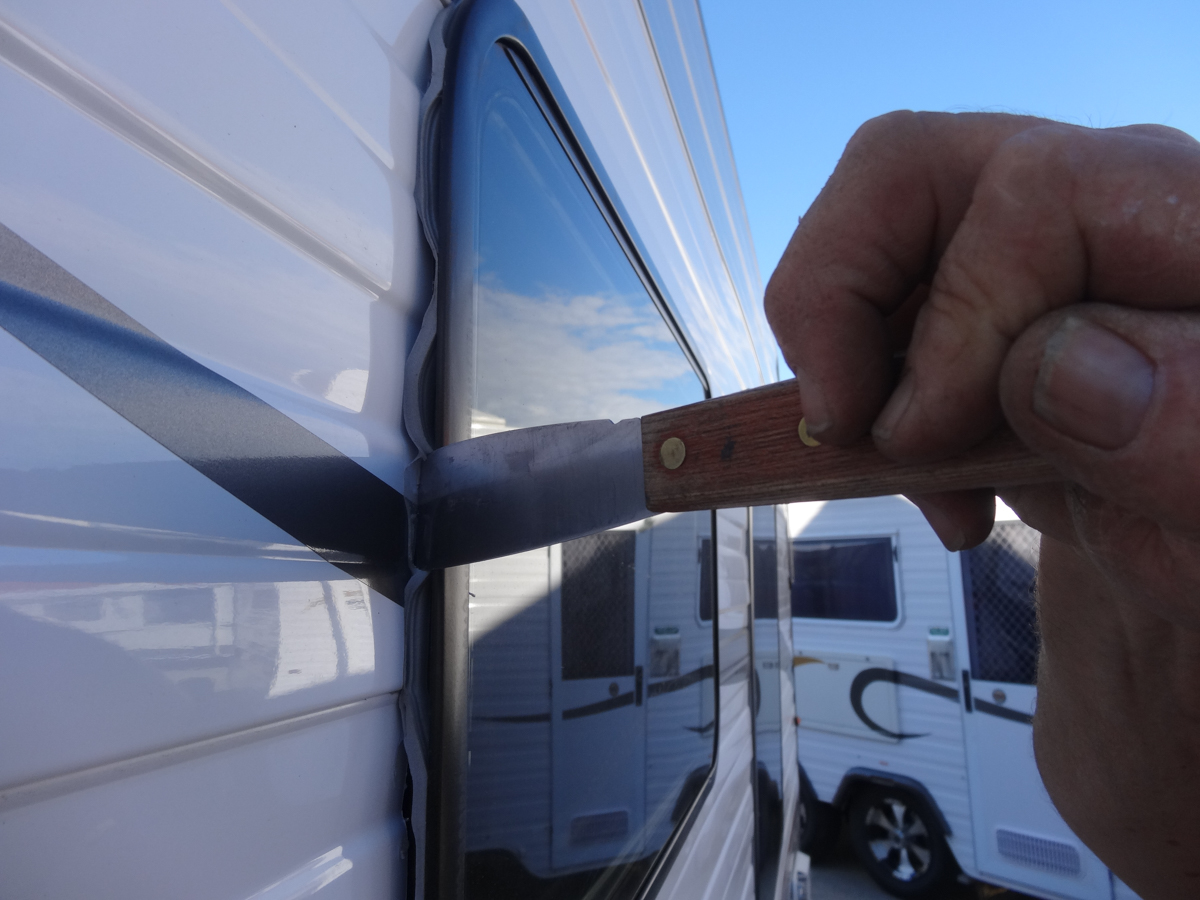
Once that’s done, you can head outside and remove the window from the outside. This window was sealed with foam tape and a tiny bead of silicone. The foam tape has a sticky back that adheres to the caravan’s cladding, so you may need to pry the window out. Work your way around the edge of the window with a flat blade, being very careful not to dent or bend the aluminium cladding.
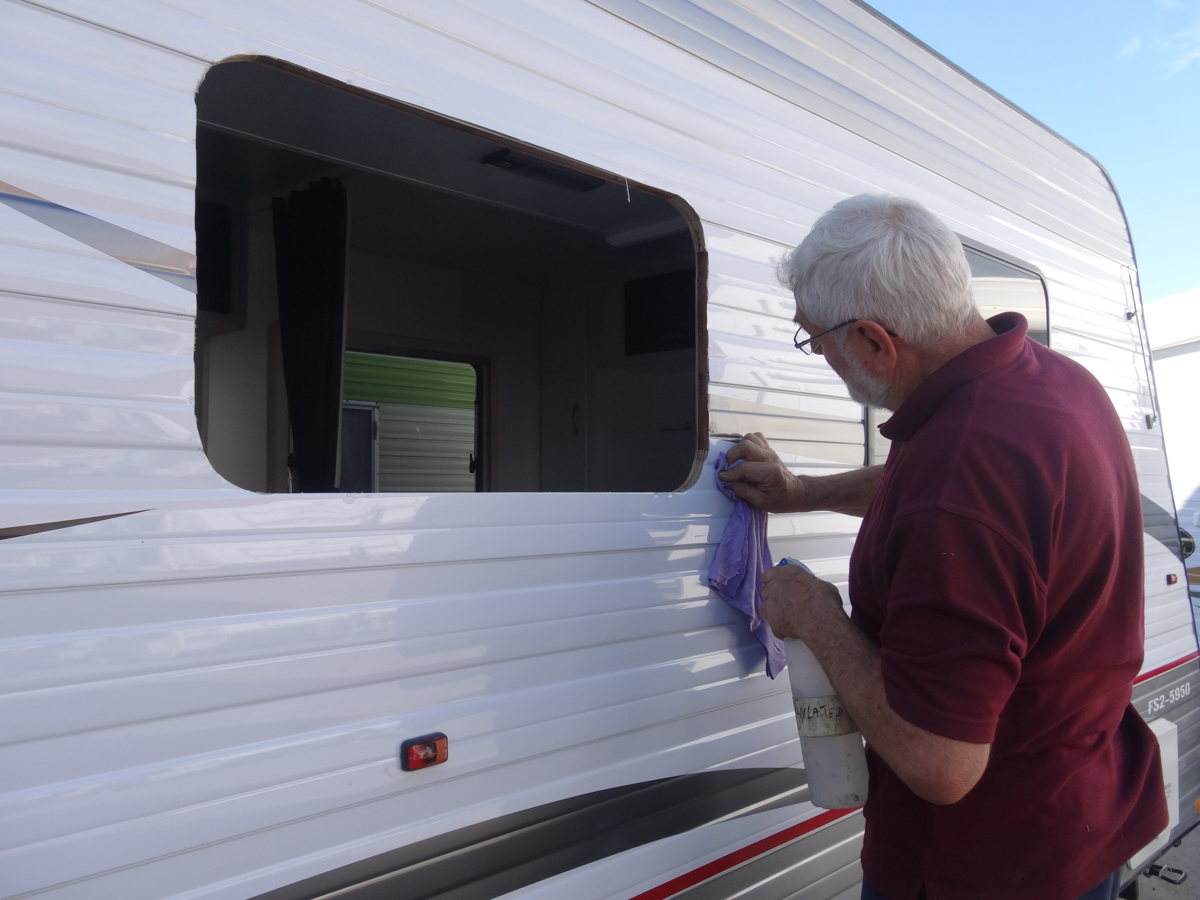
Peel any remaining foam tape or silicone away from the van, scrape away any stubborn bits with a plastic scraper and clean off the residue with methylated spirits and a clean, soft cloth. If you don’t properly clean this surface, the new foam tape and silicone won’t stick properly, endangering the integrity of your seal.
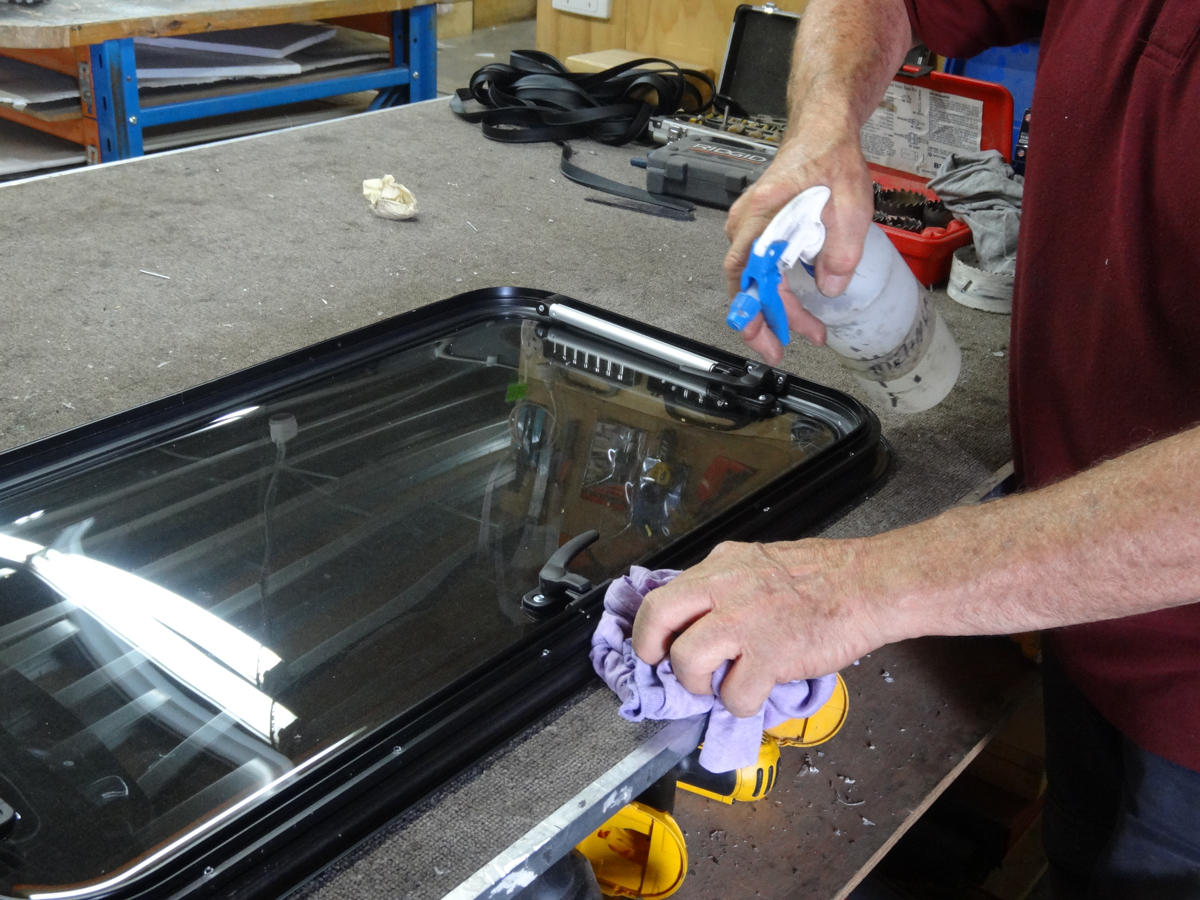
Repeat this process on the window itself – remove any remaining foam tape/silicone and clean it all down with metho and a cloth.
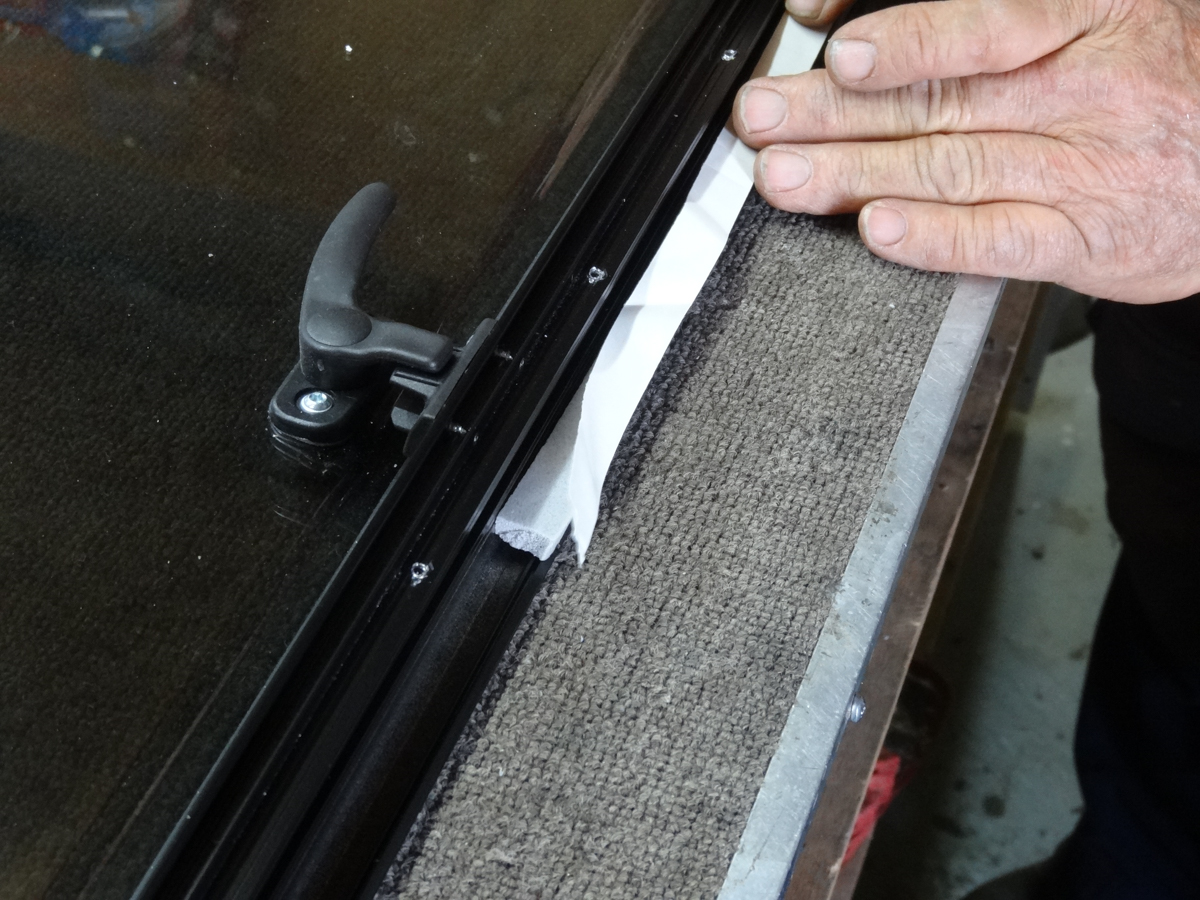
Use a weather-resistant foam tape to re-seal the window. Make sure your roll of foam tape is the correct width and apply it by starting at the bottom of the window in the centre. This way, the join you create with the tape will allow any water or moisture to run off downwards. If you start taping from the top, you risk creating a leak with your join, which will allow moisture to drip inside the caravan.
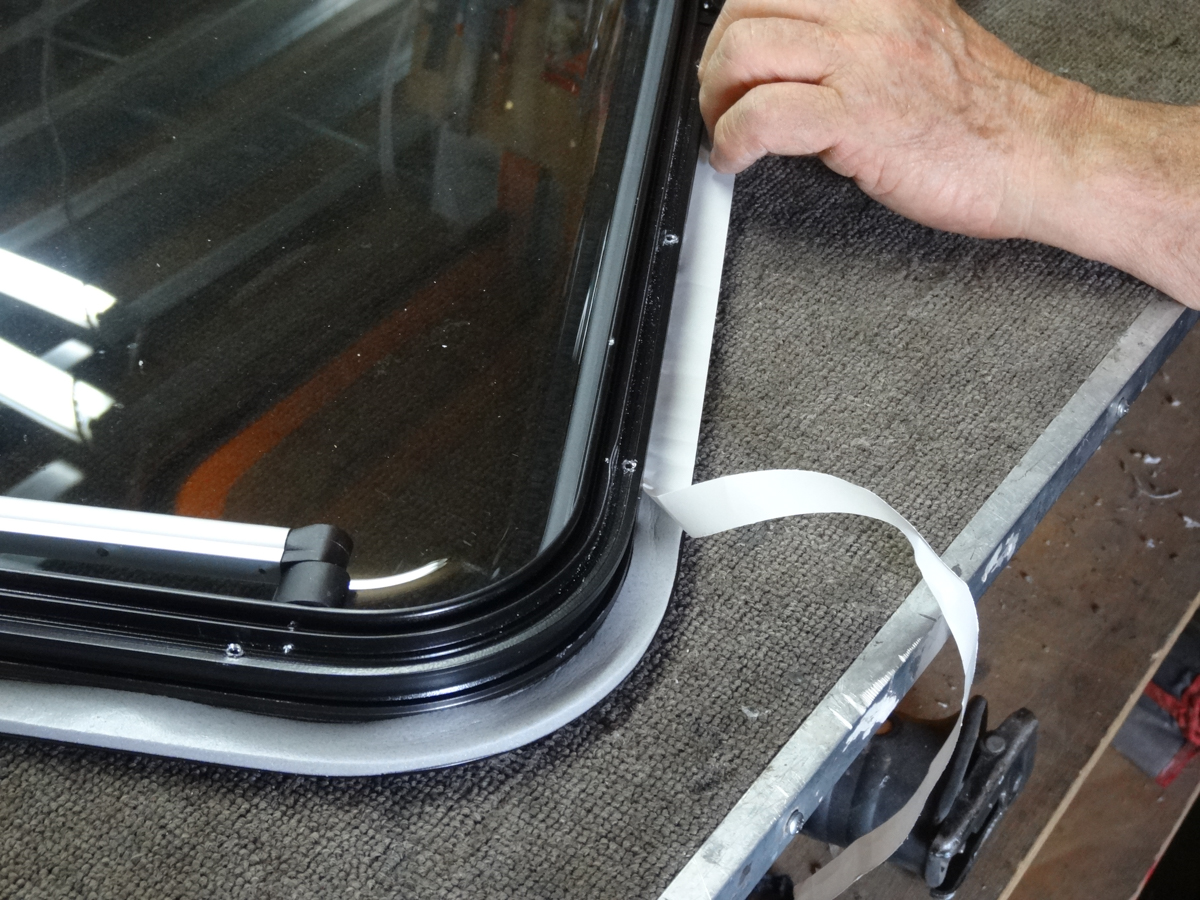
Keep the line of foam tape close to the window and as neat as you can. Just follow it around the corners, moving the window as needed. Keep the backing paper on the foam for as long as you can, as this will prevent the foam from stretching. But you’ll need to remove it as you go around the corners.
Once you get back to your starting point, use a really sharp blade or Stanley knife to cut the foam tape a little longer than needed. Then butt it up against your starting point to form a flush join. Some people may overlap the foam, but this causes an area of double-thickness, affecting the quality of the seal.
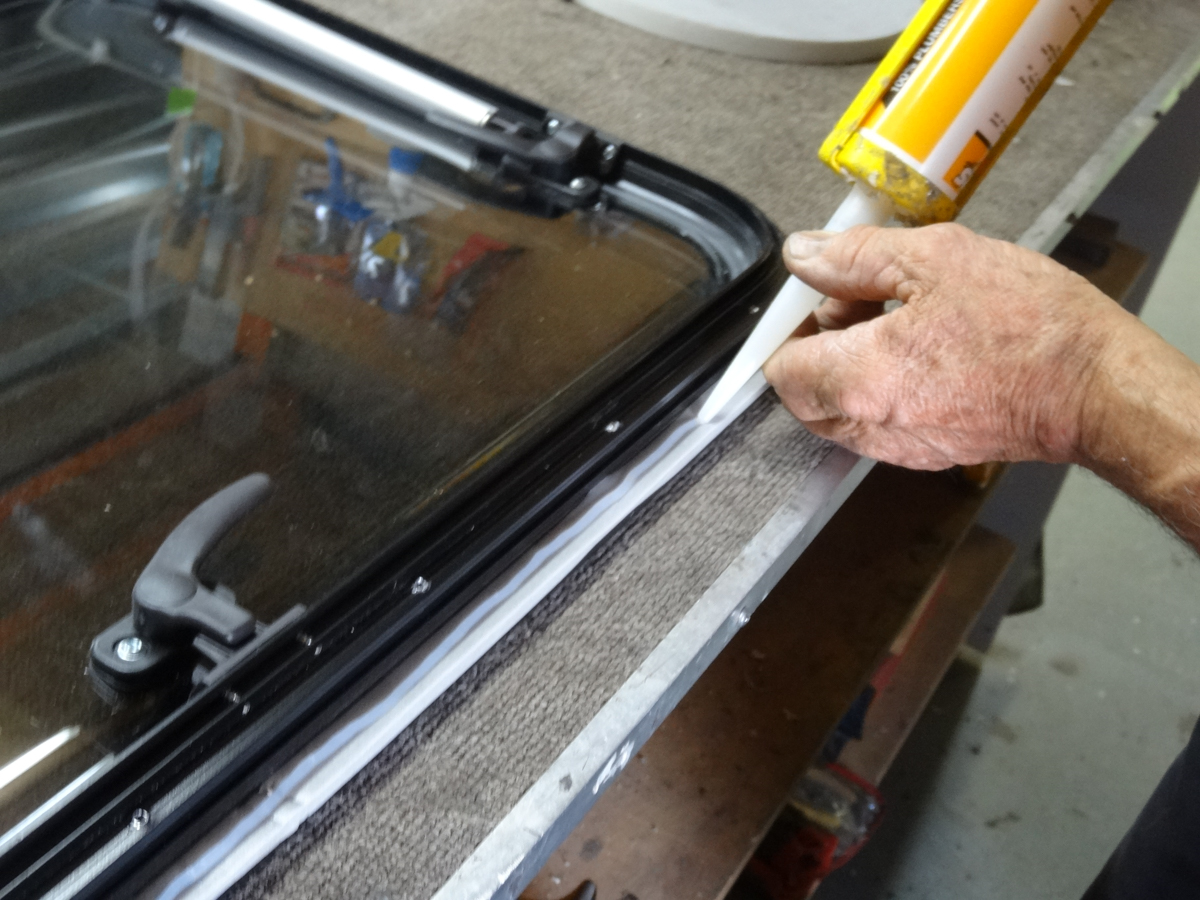
A neutral-use silicone can be used as a second line of defence. Neutral-use means it is not acidic and won’t affect the metal on the window or van. Run a tiny bead of silicone on top of the foam tape, around the perimeter of the window. This will expand to fill up any imperfections in the cladding. Inserting the window back into the van may require two people, depending on how snugly it fits. Sit the bottom of the frame in the hole, and push the window in.
While one person holds the window in place, the other should head back inside and start screwing the window clips back in with the Torx bit. Do one on each side and work your way evenly around the window, making sure it remains in place. Get the person on the outside to push it in firmly to compress the foam, so the screws can pull the window into place.
Once all the screws are in place, ask the person on the outside to check the window is flush and perfectly square before you tighten everything up. Be careful not to over-tighten screws in an aluminium frame or they’ll just pull out.
Now is the time to make sure the window works properly. Push it out and in and make sure it locks correctly. Put the cassette in place and screw it back in, covering the screws with the little plastic clips. Clean any scuff marks off the plastic cassette and clean the window inside and out.
EQUIPMENT NEEDED
• Drill (with screw bits)
• Flat-head screwdriver
• Torx drill bit
• Flat metal blade
• Plastic scraper
• Methylated spirits
• Clean, dry rag
• Foam tape in correct width
• Silicone (neutral-use/non-acidic)
• Sharp blade/Stanley knife
DIY WINDOW RE-SEAL: STEP BY STEP
Step 1: Remove the plastic plugs to expose the screws behind.
Step 2: Remove the screws.

Step 3: Remove the window cassette and store in a flat, secure place.
Step 4: Remove the window clips. This window required a Torx bit.
Step 5: Remove the window from the outside. If it’s stuck, use a flat blade to carefully pry it out by levering around the edges. Store on a flat, clean, dry surface.
Step 6: Use a plastic scraper to carefully, gently remove any remaining foam tape or silicone from the van’s cladding.

Step 7: Clean any residue off the van’s surface using methylated spirits and a clean, soft rag.
Step 8: Lay the window on a clean, flat surface and remove any residue from foam tape with methylated spirits and a soft, clean rag.
Step 9: Re-seal the window with new foam tape. Start at the bottom of the frame, in the centre, and work your way around the window frame.
Step 10: Just follow the corners with the tape, moving the window as you go.
Step 11: When you reach your starting point, cut the tape very slightly longer than needed. Use a very sharp blade or Stanley knife to cut the tape.
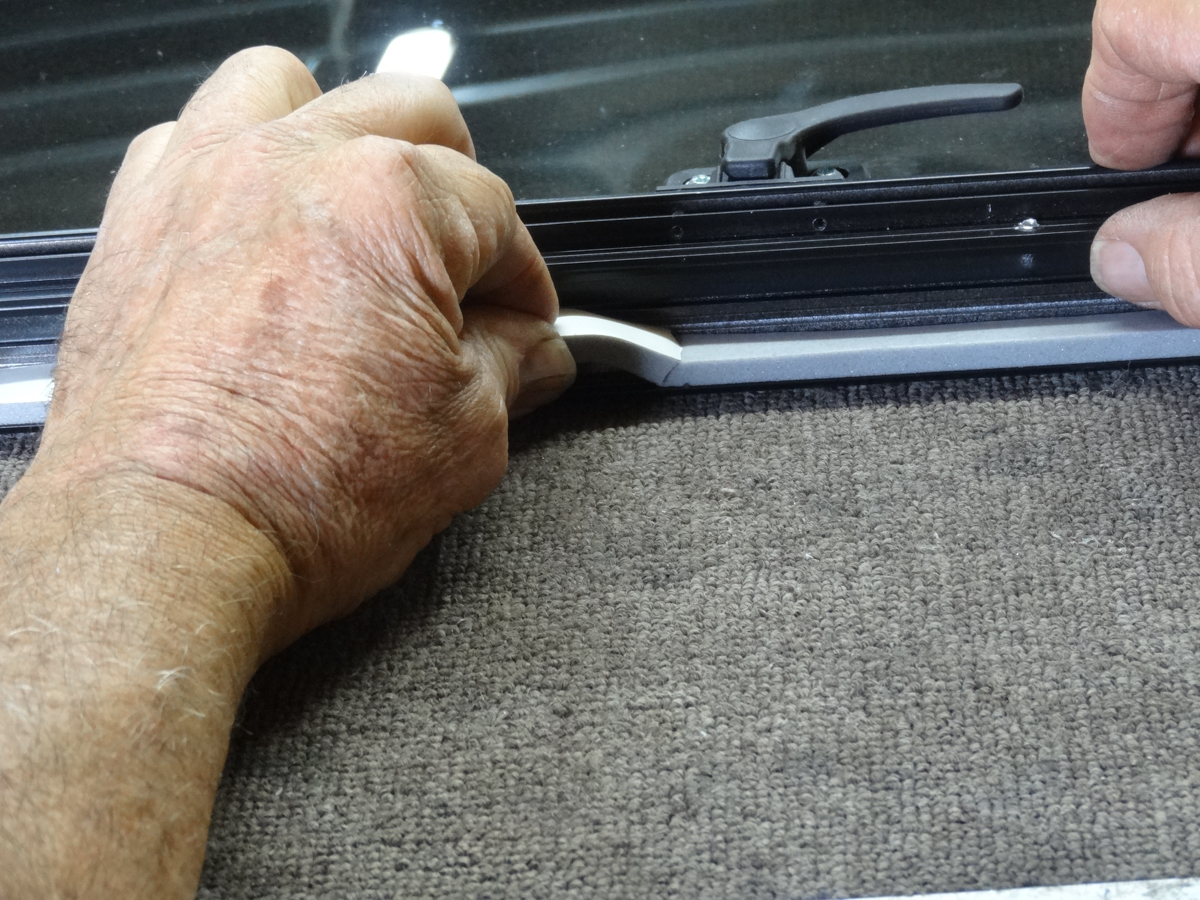
Step 12: Then butt the end of the foam up against your starting point so it’s flush.

Step 13: Run a tiny bead of silicone on top of the foam, around the perimeter of the window.
Step 14: Insert the window carefully back into its hole. Sit the bottom edge in and push it in gently.
Step 15: With someone holding the window in place on the outside, head back inside and screw the window clips back in with the drill and Torx bit. Work your way evenly around the window.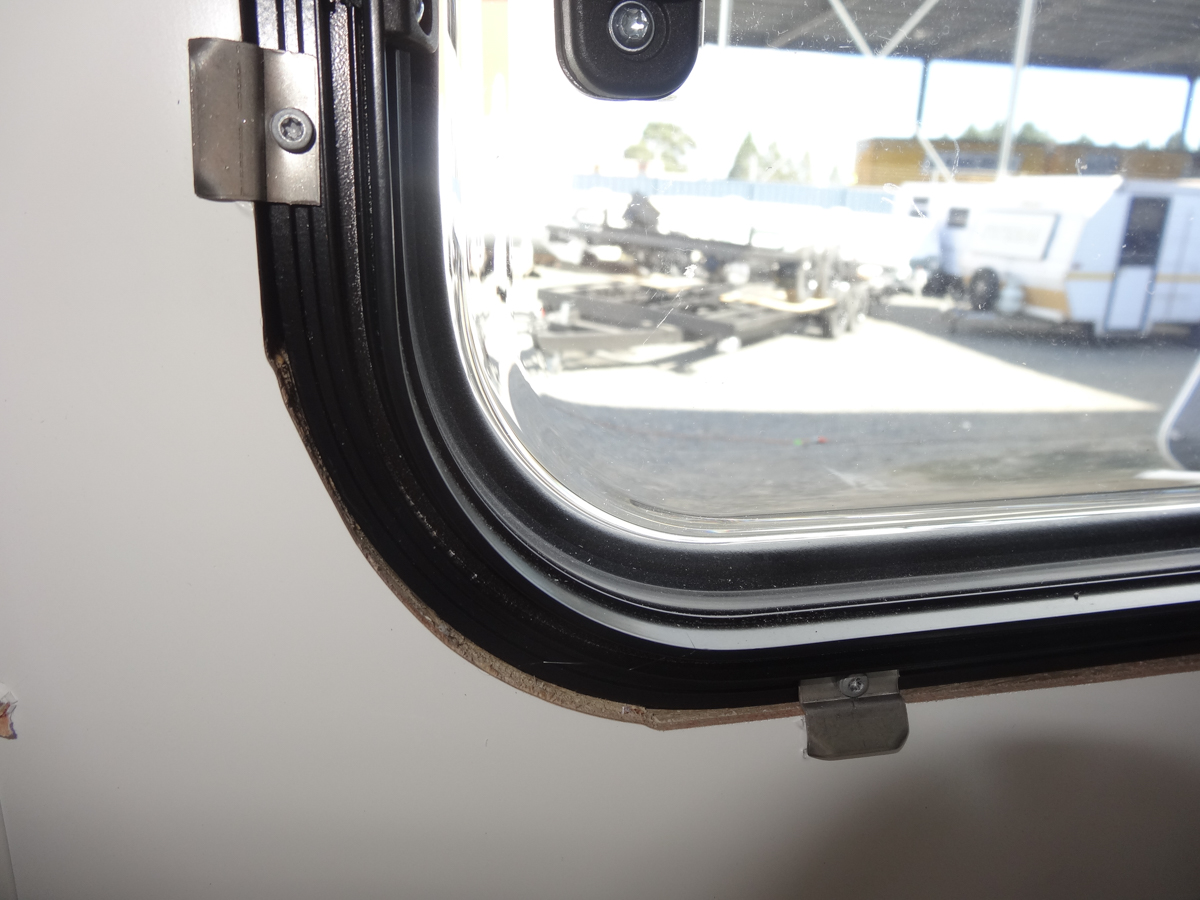
Step 16: Get the person on the outside to make sure the window is sitting flush and square before you tighten everything up.
Step 17: Put the cassette cover back on the window and screw it back into place.
Step 18: Replace the plastic clips covering screws.
Want to read more about DIY budget tow vehichle modifications? Read our Top 5 DIY Budget Tow Vehichle Modifications