Replacing a plug or trailer connector is not only inexpensive but also a relatively easy assignment. Connections can fail due to corrosion or metal fatigue. But before you start disconnecting and stripping wires, why not simply replace the complete plug.
Any ‘jack of all trades’ can perform this DIY job, which should be comfortably completed in around half an hour. Here, we demonstrate a step-by-step installation of a new trailer plug on a tow vehicle.
STEP 1:
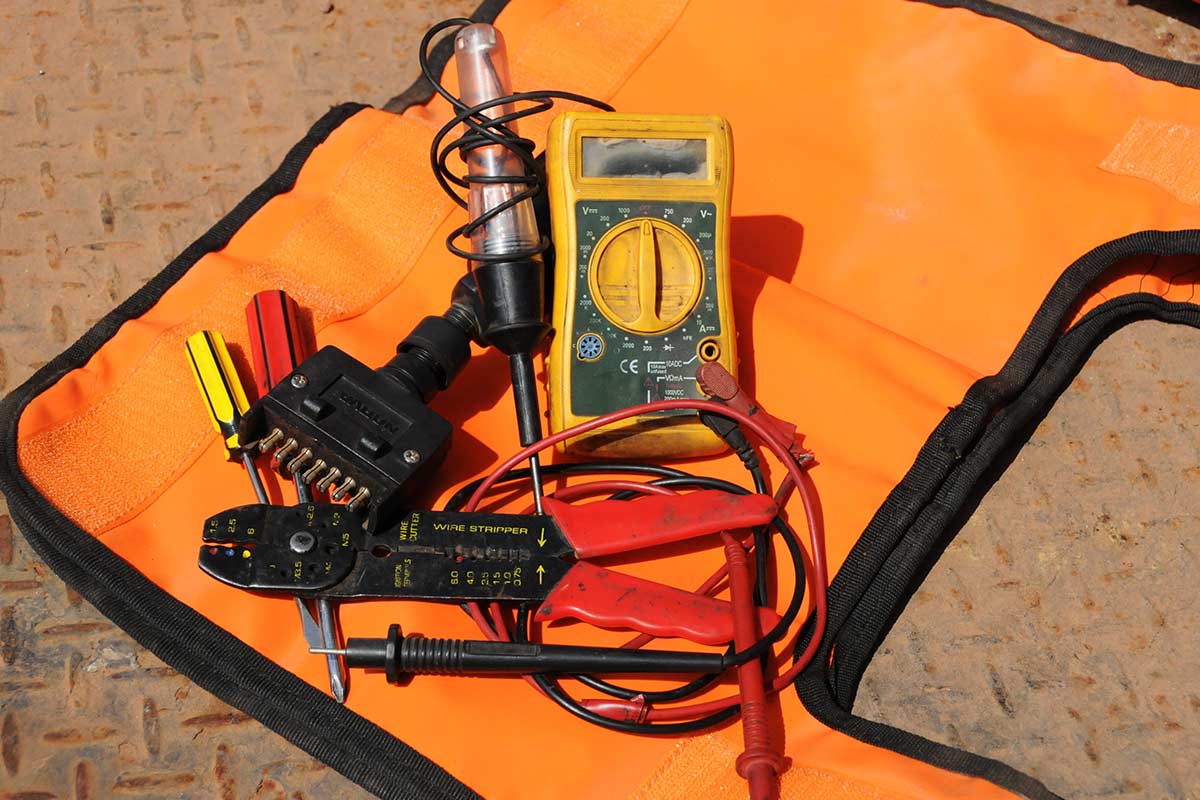
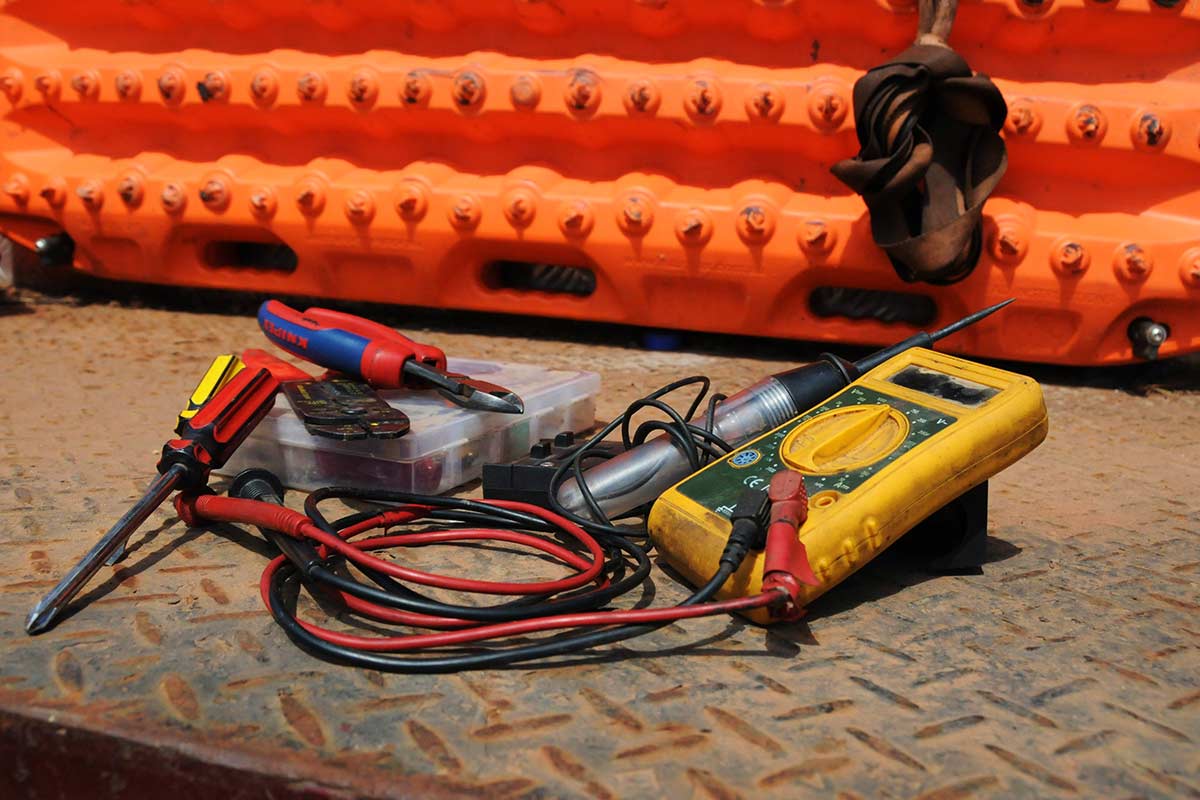
Gather your ‘tools of the trade’: multimeter, small screwdriver, wire stripper – plus replacement plug.
STEP 2:
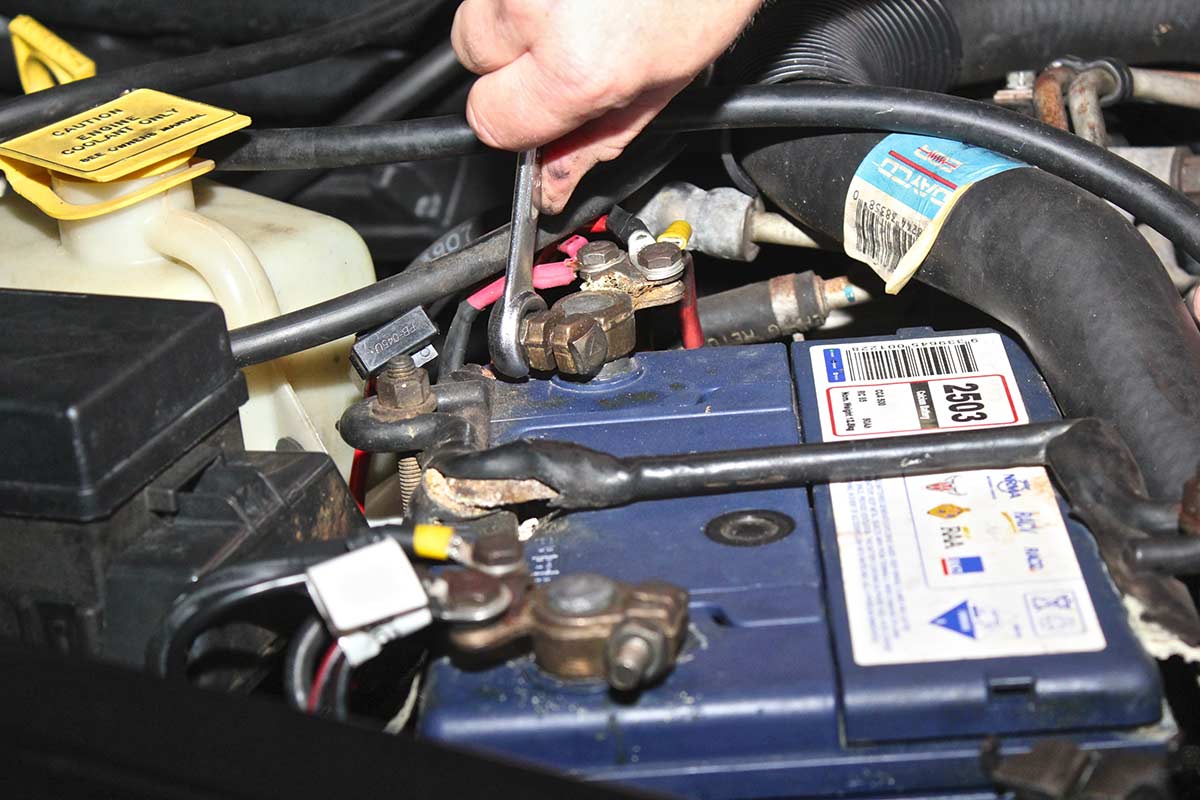
Disconnect the vehicle battery’s positive terminal.
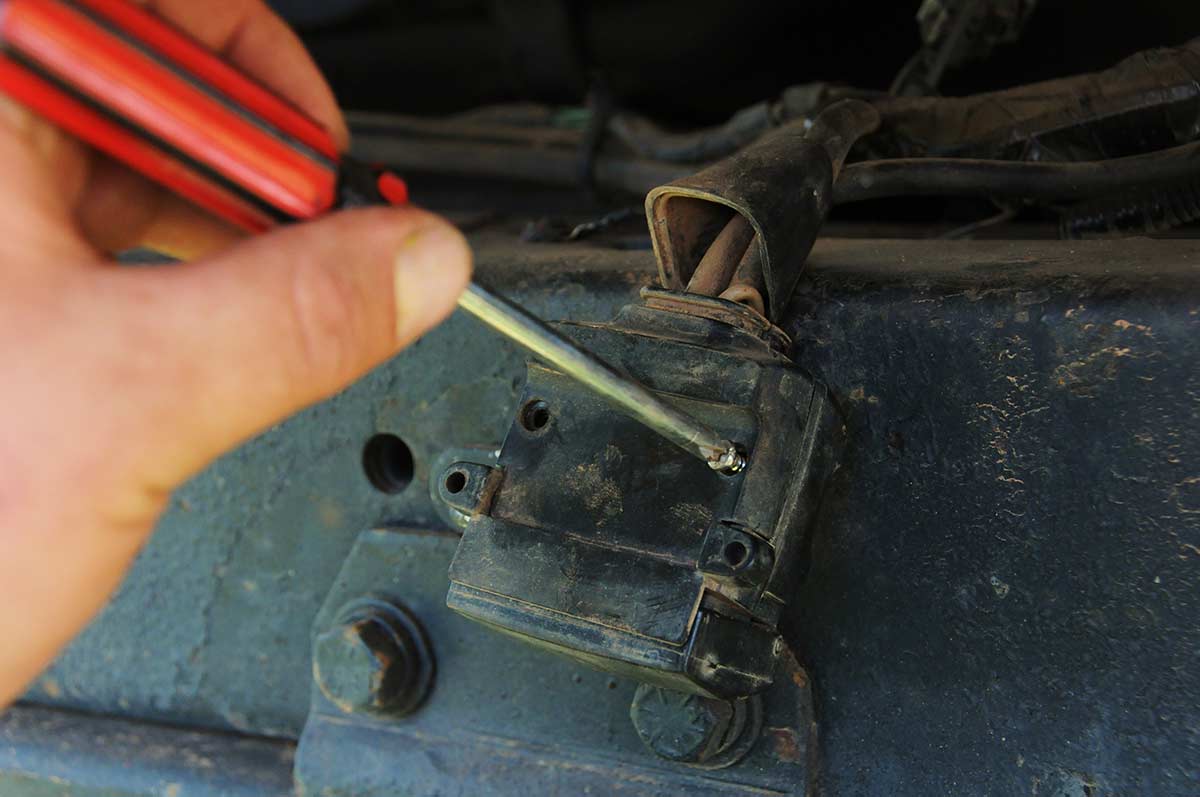
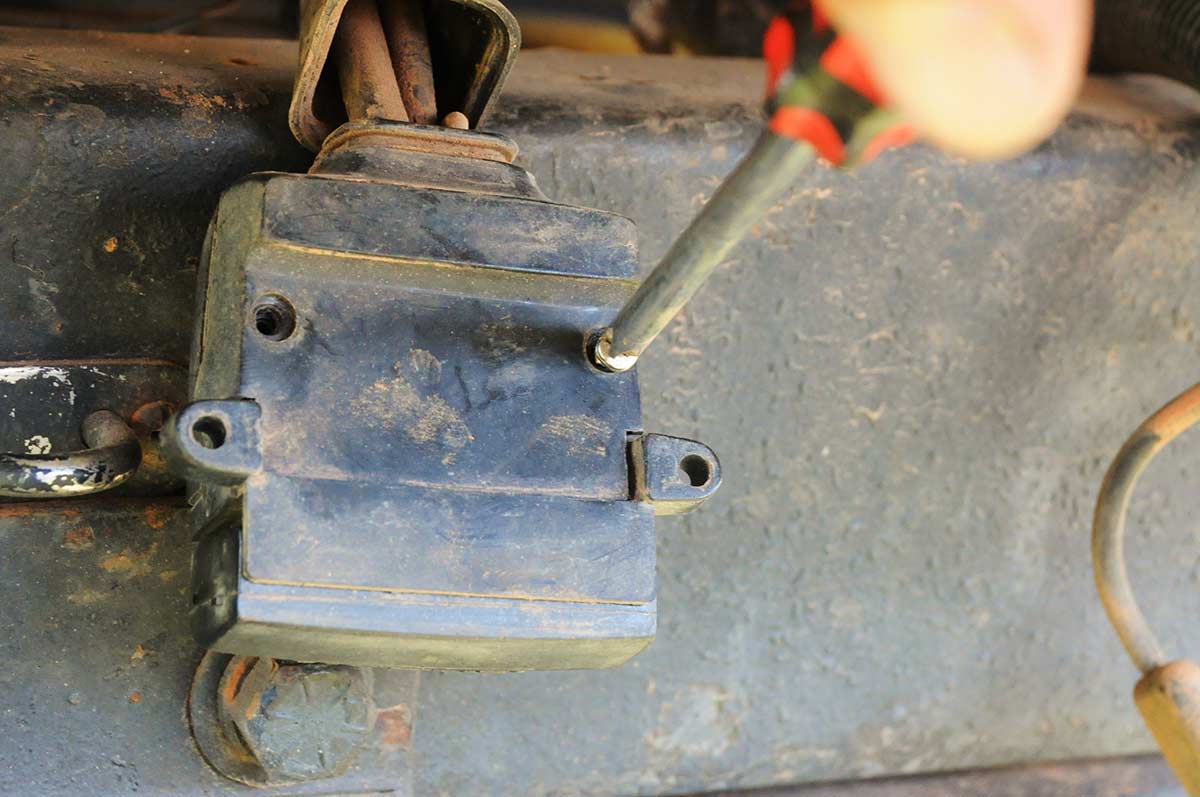
STEP 3:
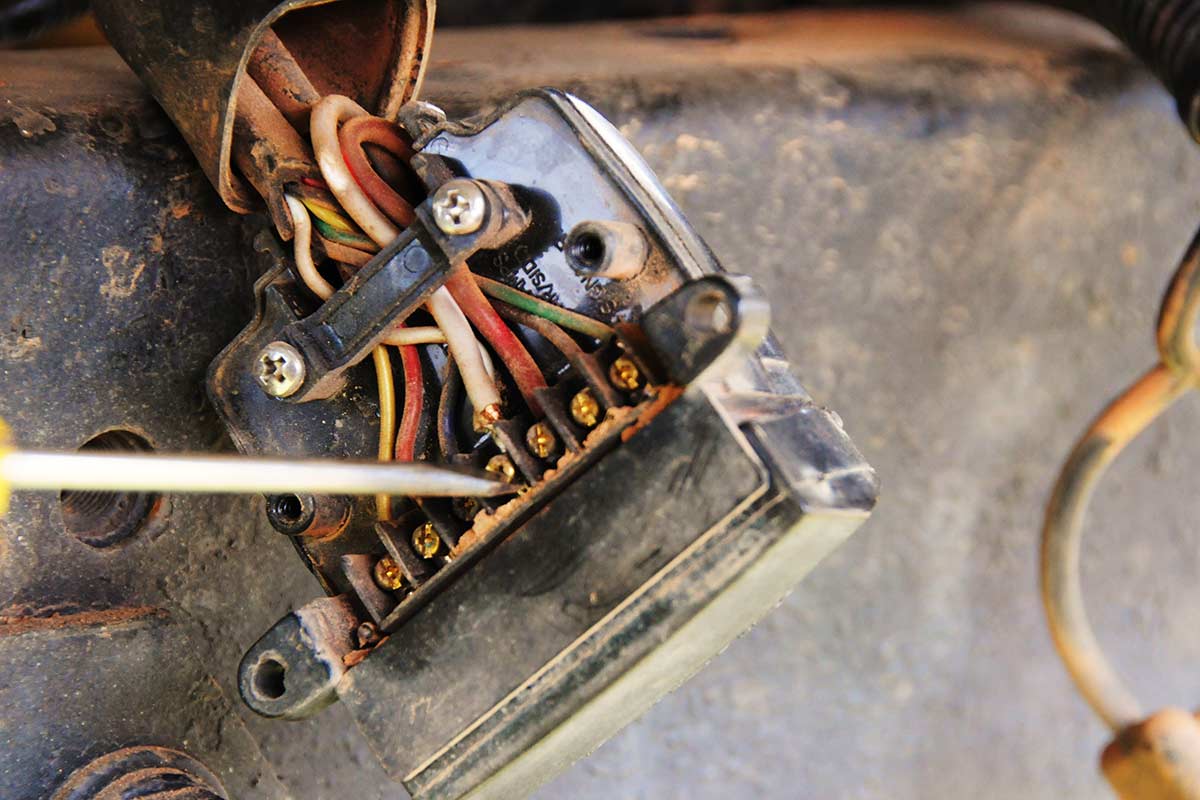
The plug cover end should be unscrewed before unclipping the plug body and forcing it open.
STEP 4:
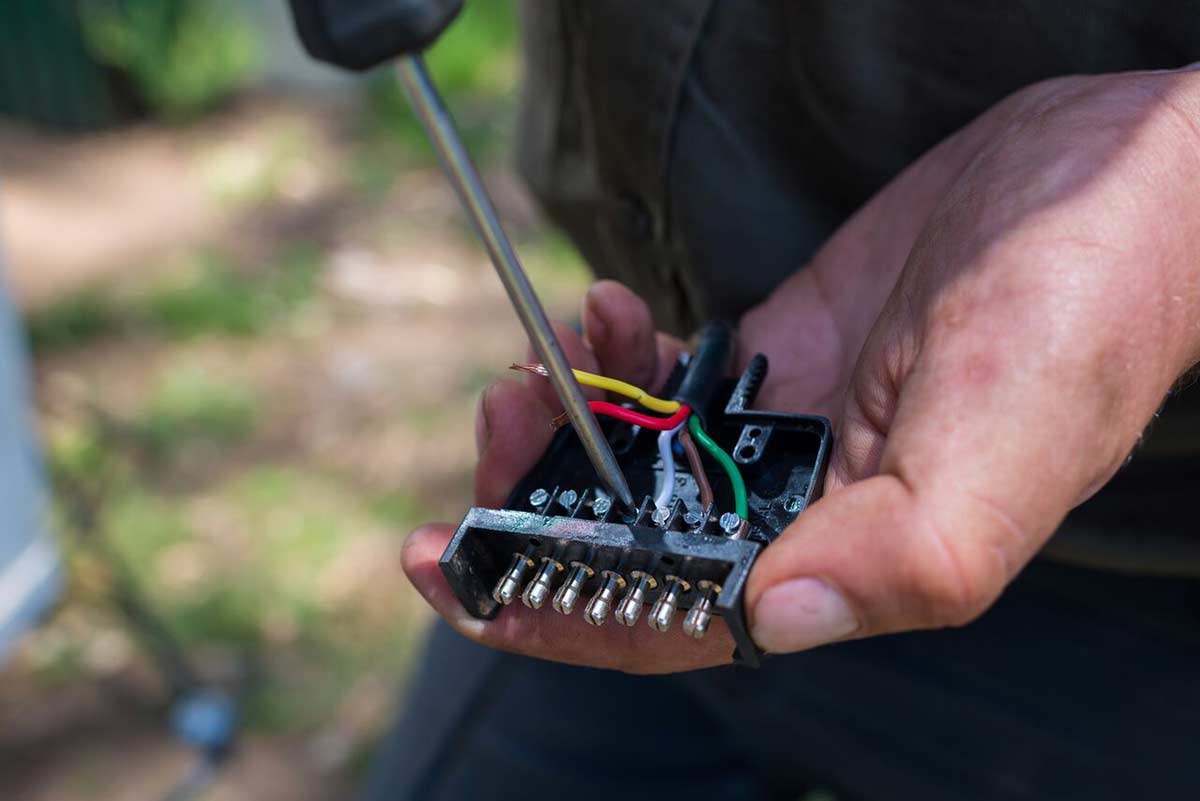
The new and old plugs must have identical terminal numbering and wire insulation. colour.
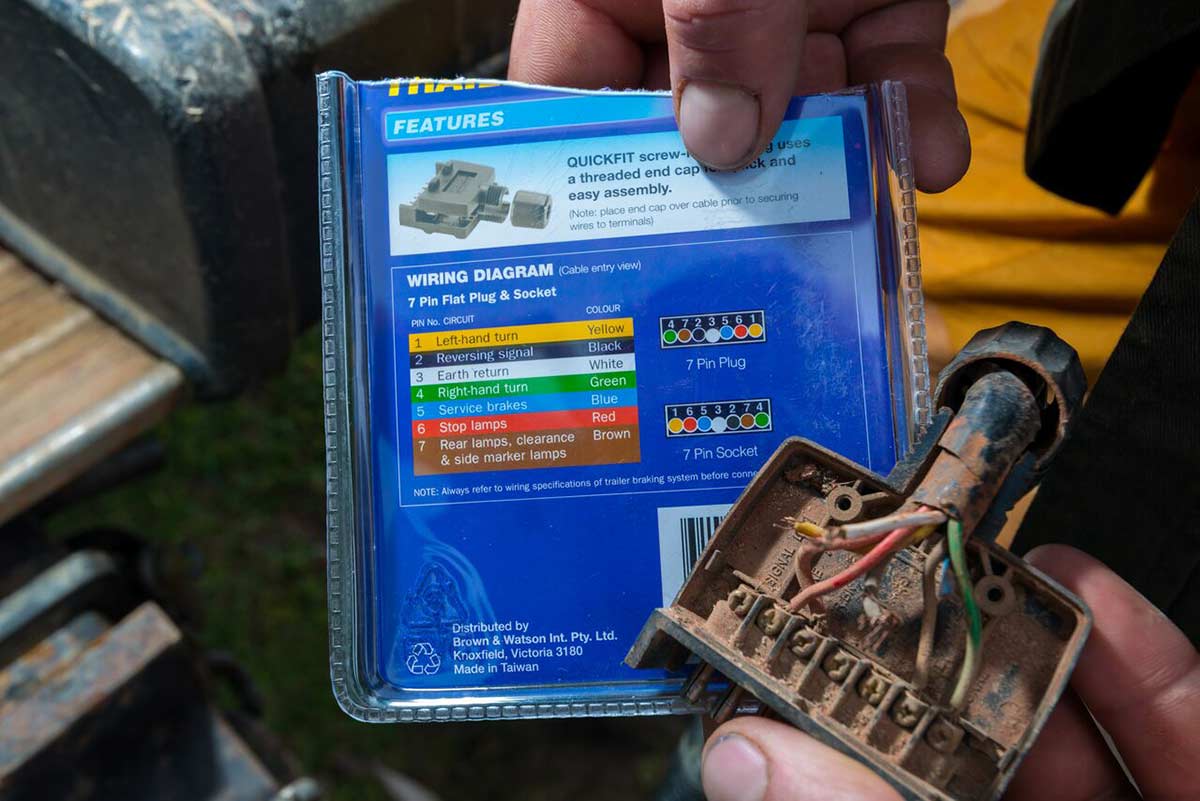
STEP 5:
After the old plug wires are unscrewed, observe that the wire insulation matches with the position on the new plug.
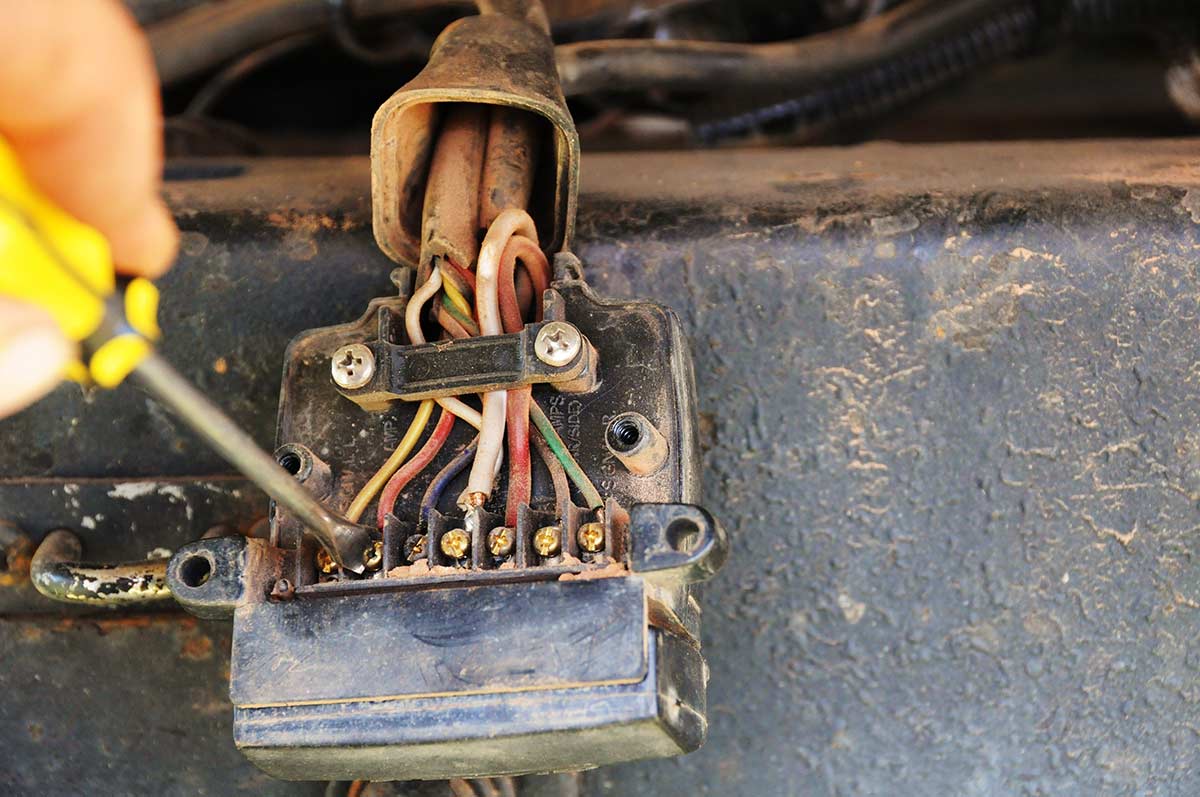
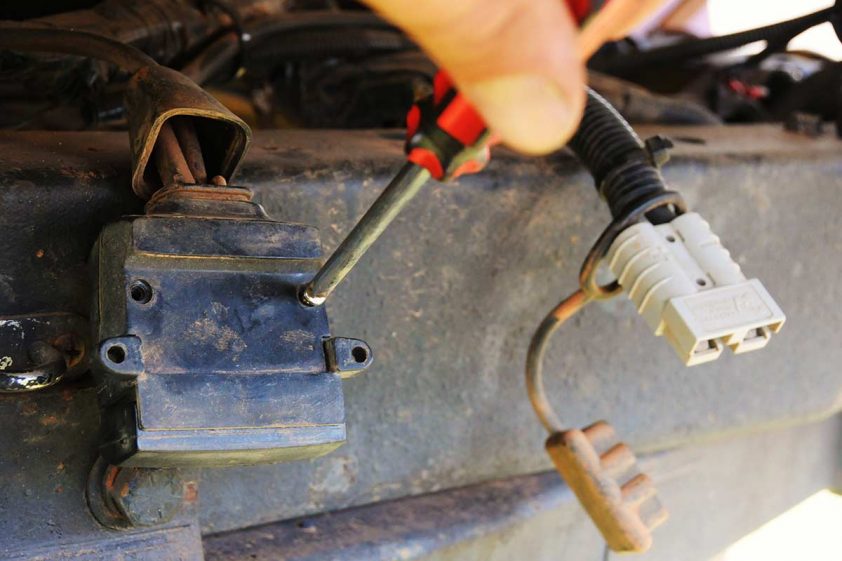
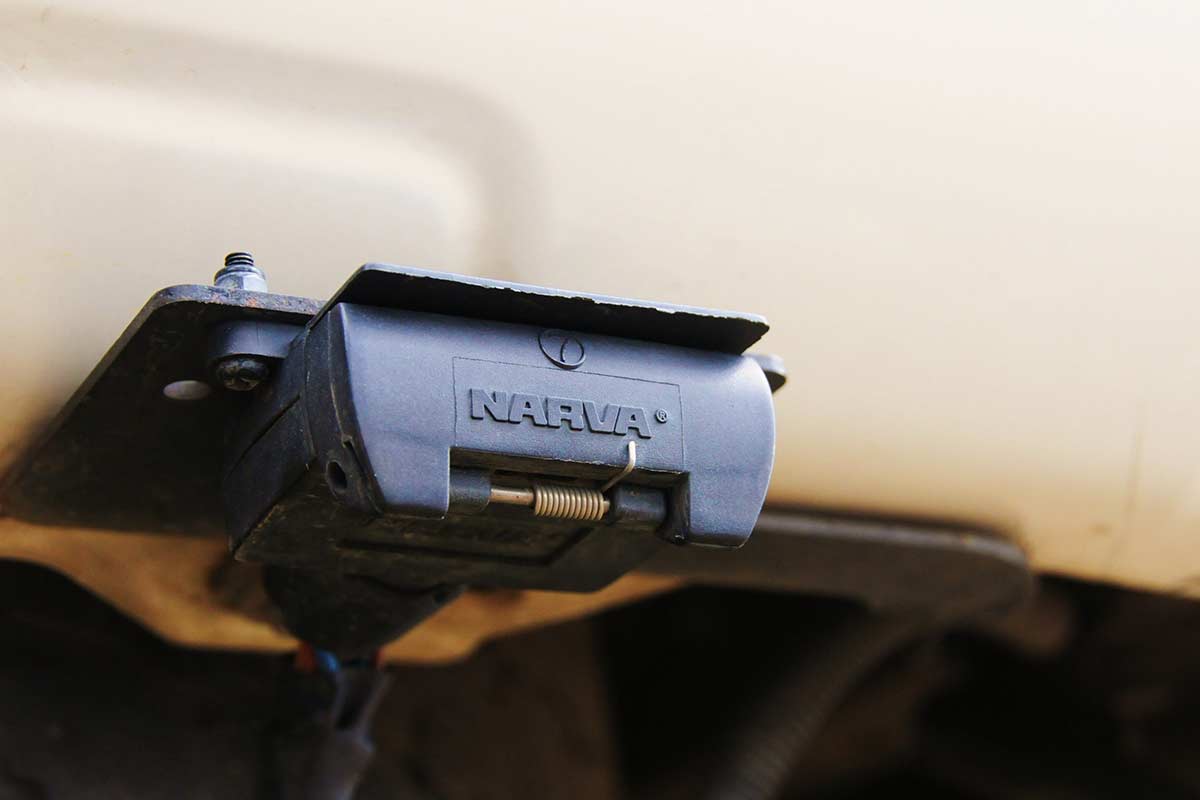
STEP 6:
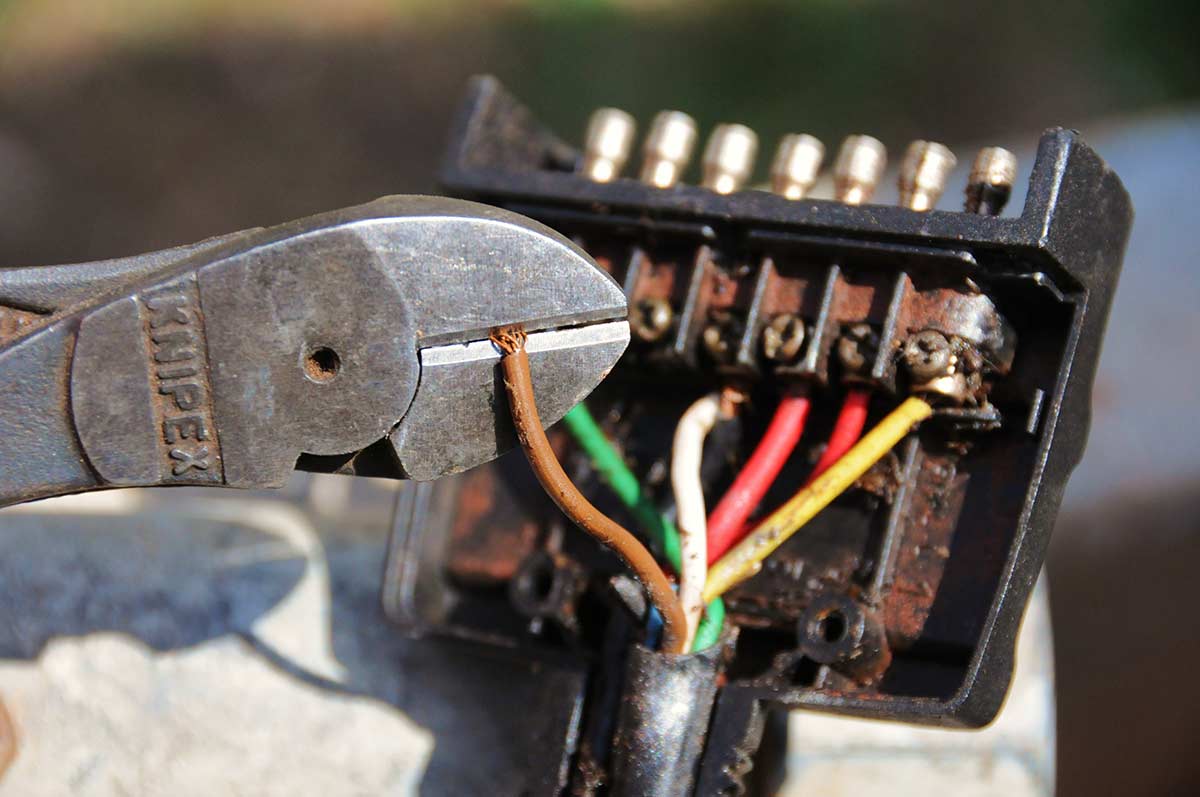
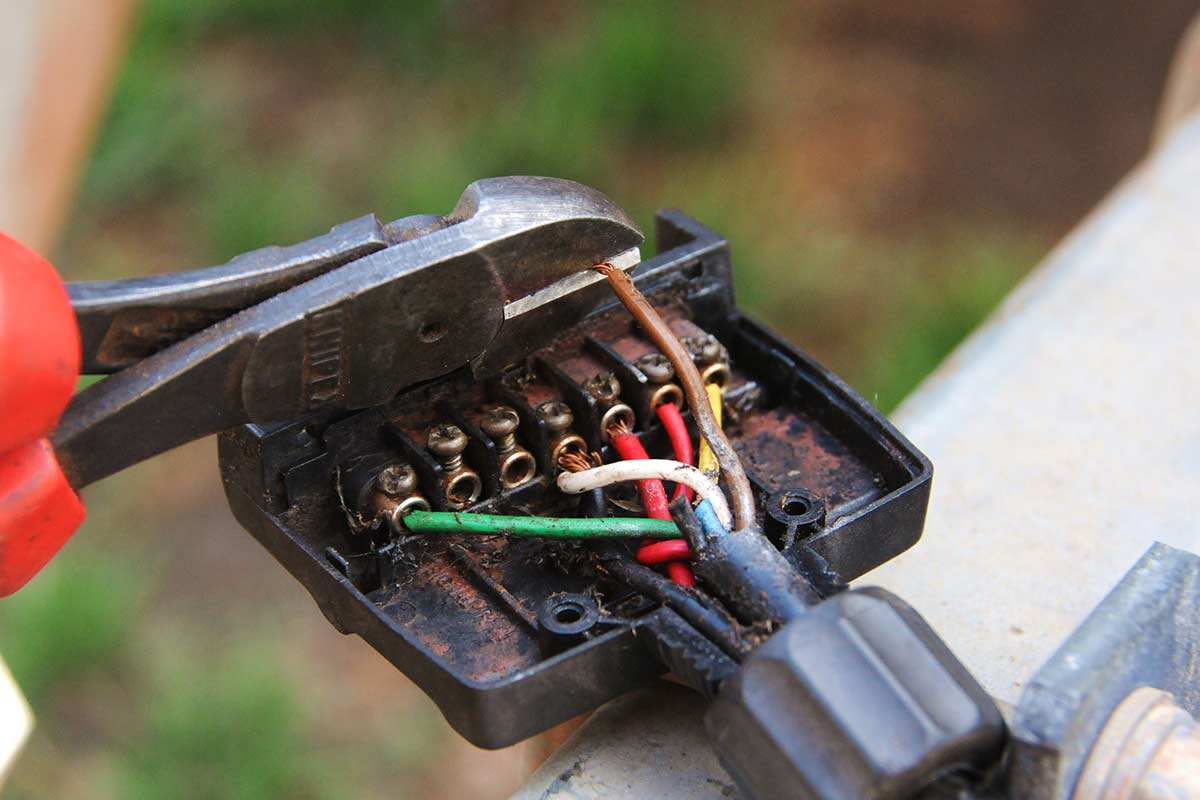
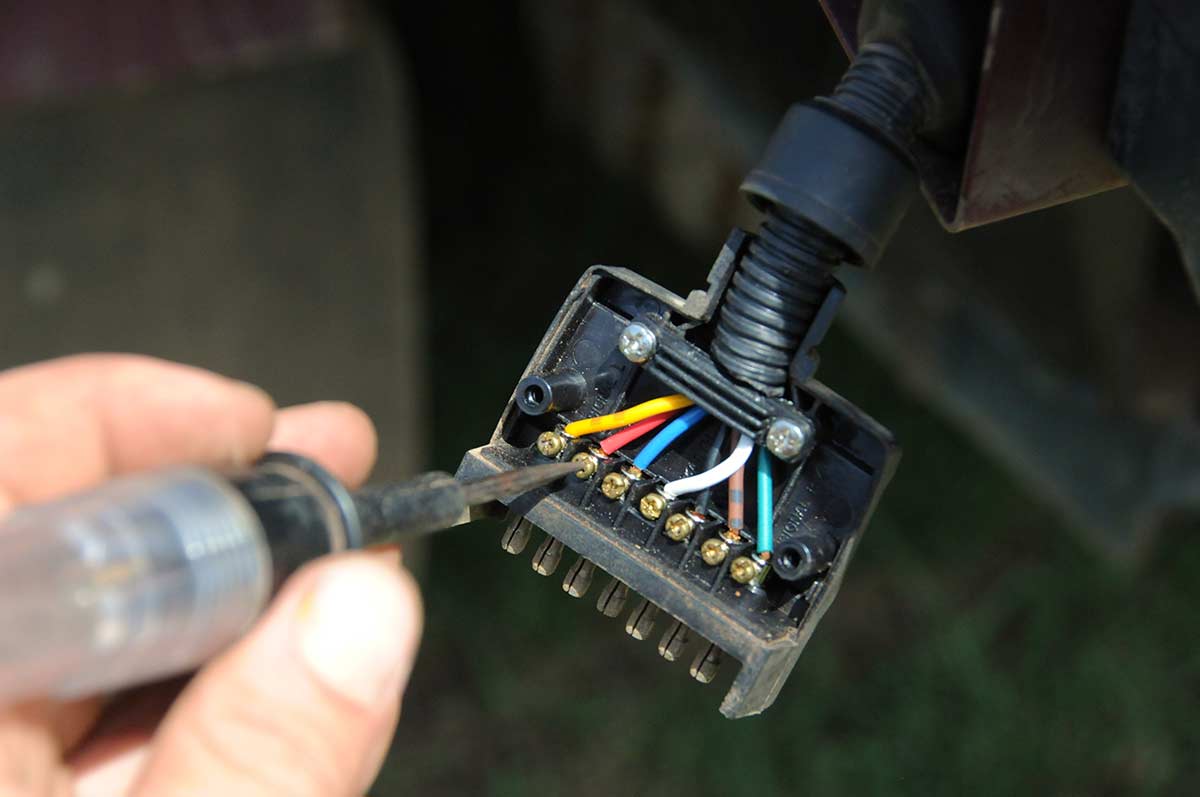
This illustration shows the trailer plug. And as there was no corrosion to the vehicle connector, stripping back of the wire insulation was not required.
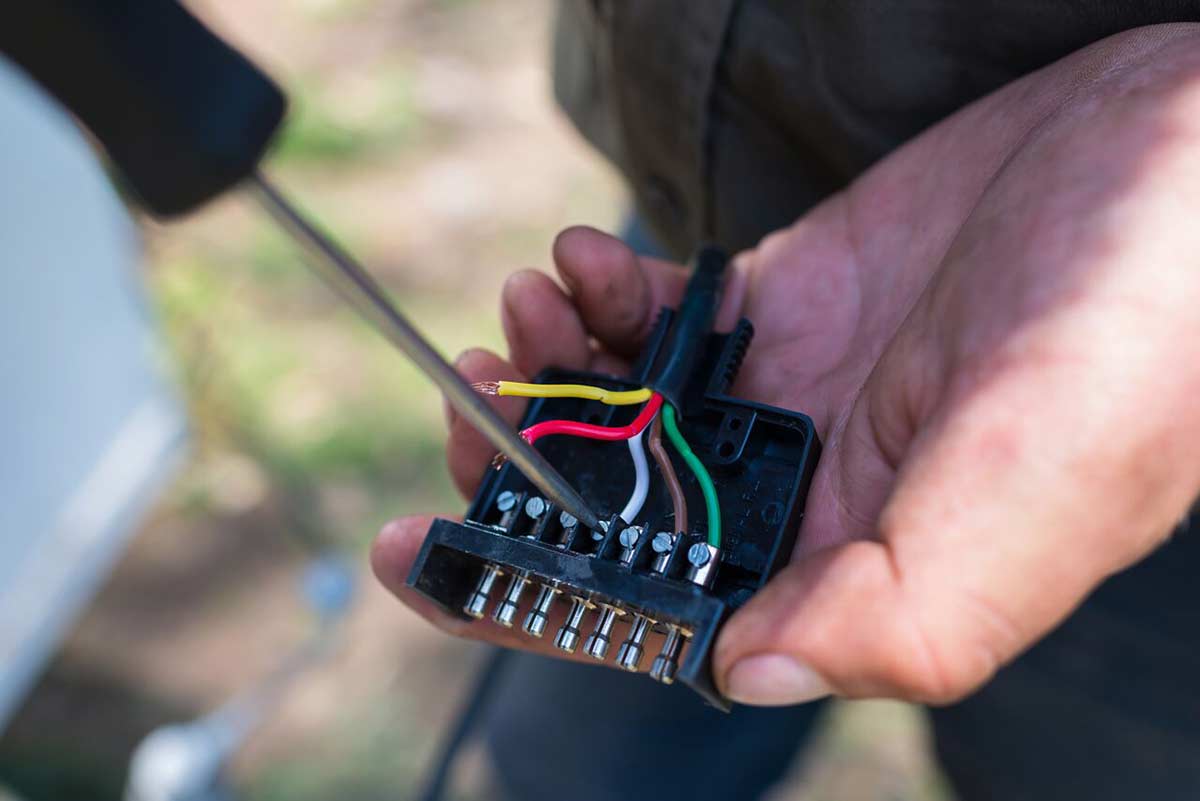
STEP 7:The end cap and sealing plug is fitted to the cable before securing wires to the terminals. The position and number must correspond with the wiring diagram supplied with the plug.
STEP 8:
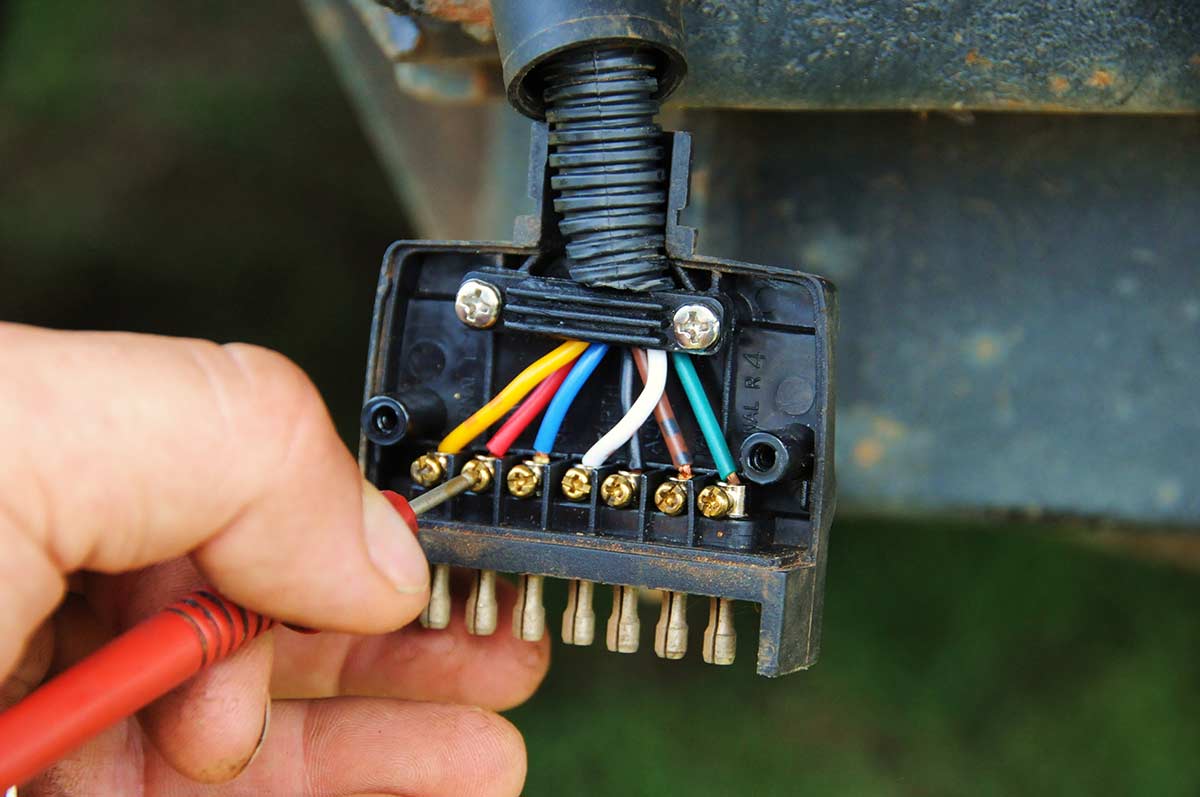
Using a multimeter set to 12V, reconnect the battery and check that the connector circuits are functioning. (Expect some voltage drop from the battery to the trailer connector.)
STEP 9:
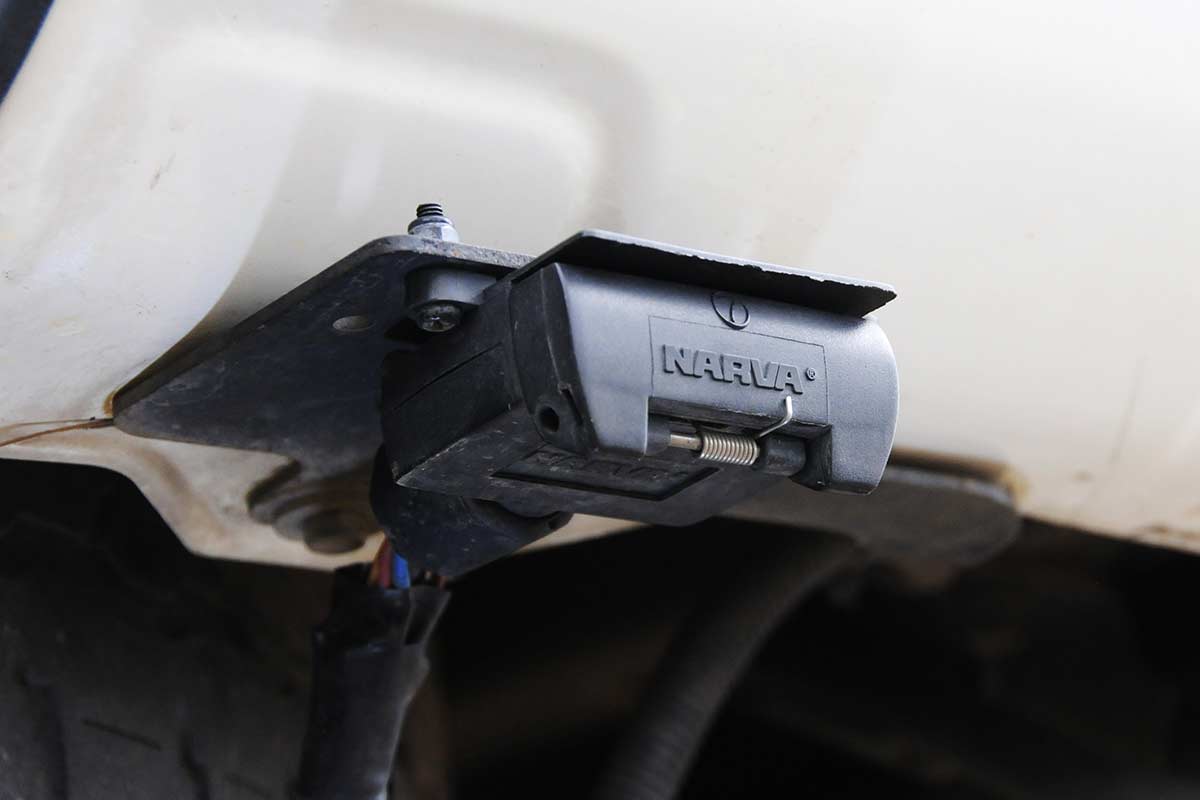
Refit the body of the connector to the connector securing point. In this scenario, the plug was fitted into the number plate aperture in the bumper bar.
MEET THE AUTHOR

Philip Lord
Phil is a long-term vehicle tow-tester and also the former owner of a 1979 Viscount Grand Tourer, which he restored before selling it to make room for his next project: a mid-1980s Windsor Windcheater.
Phil has been a motoring writer for more than 20 years. He has tackled most automotive and technical subjects throughout his media career, which has seen him contribute to such illustrious journals as Caravan World, Camper Trailer Australia, Wheels, 4X4 Australia and Motor.