There are many heating solutions for caravans or campers but an easy one to DIY is a 12V floor heater. You’ll need to have a 12V house battery and hot water service already in place but, if you do, you’re good to go!
Here, we’ve used a Swift 2V heat exchanger floor heater which comes in a kit with everything you need for installation. There are no compliance or regulations to follow to install the 12V heater, and no 240V wiring involved, so it’s an easy, low risk project.
1. CHECK OR INSTALL A RETURN VENT
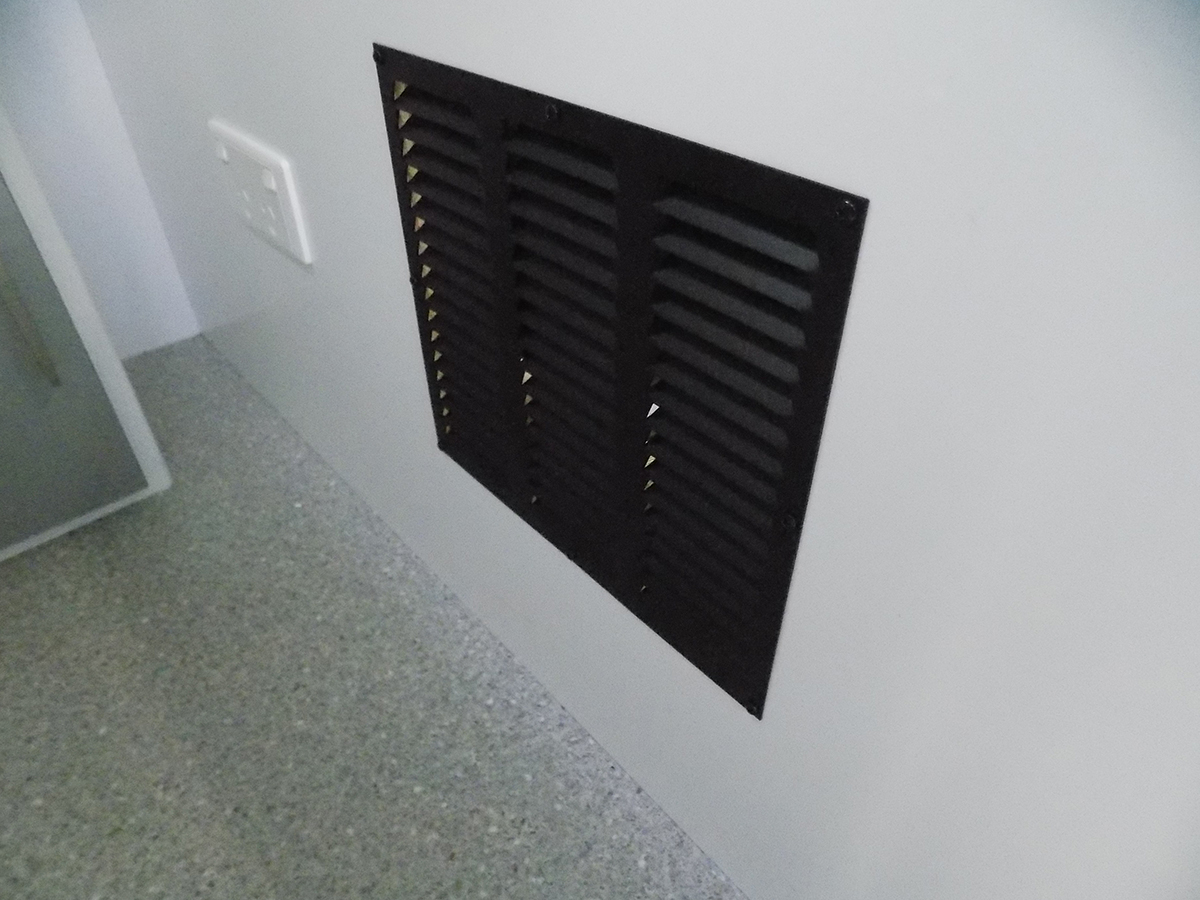
This is a sample of a return air vent under an RV bed. Some RVs may already have this vent, if not you will need to install one.
2. MOUNT THE 12V WATER PUMP
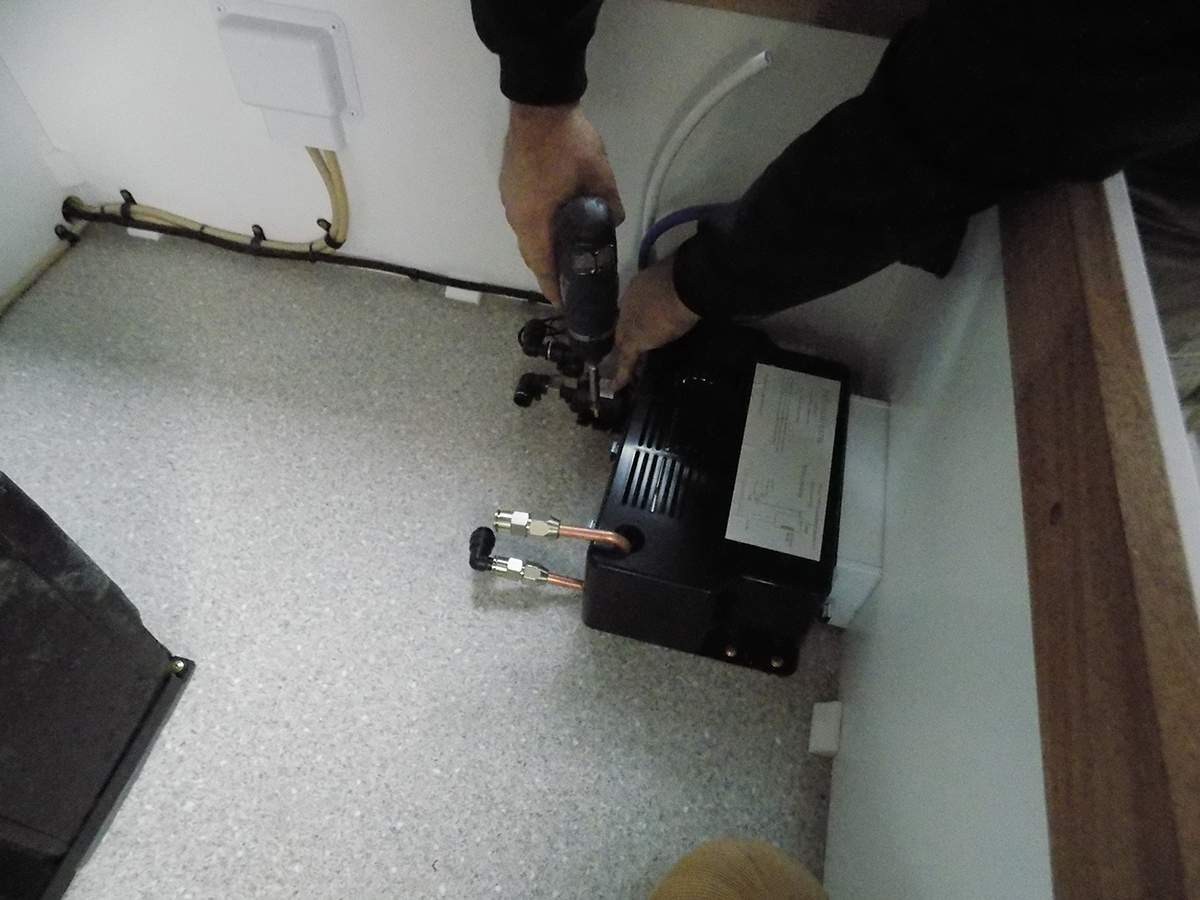
Mounting the 12V water pump that circulates the water from the heat exchanger unit to the on board HWS.
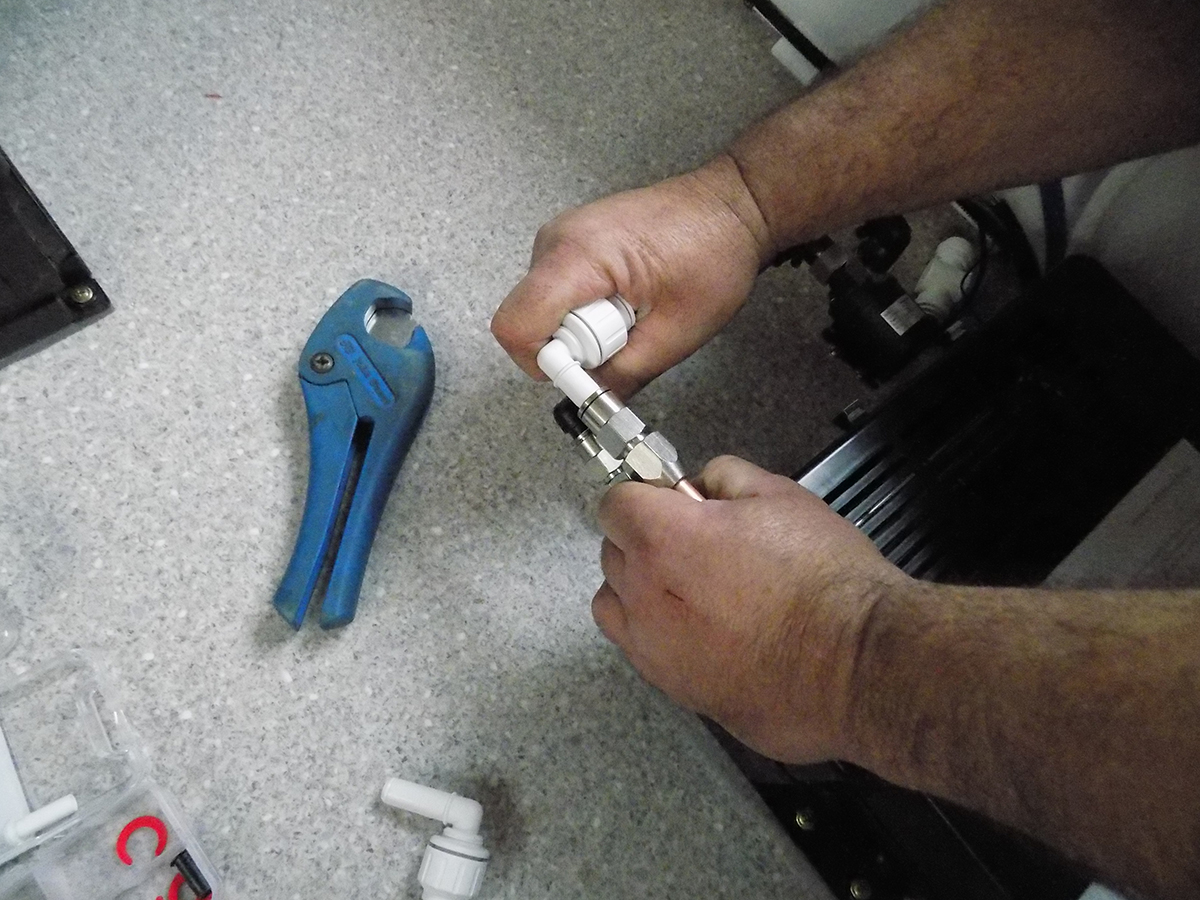
3. CHECK THE HOSE FITTINGS
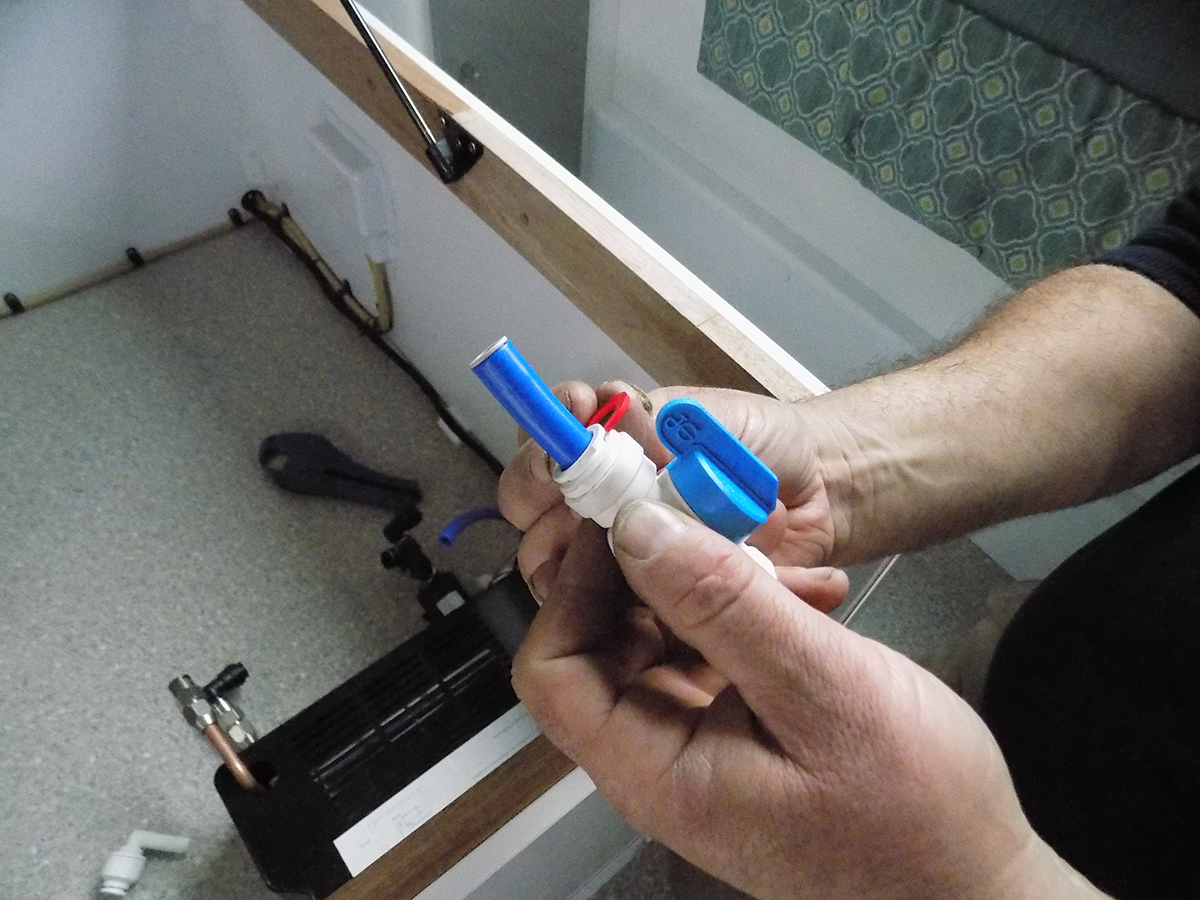
The hose fittings are John Guest easy-fit connections. The white water hose is the HWS outlet to the Swift heat exchanger unit and the blue hose is the return line back to the hot water service. Newer RV’s may have all white hoses.
An On/Off tap is provided to isolate the HWS from the Swift heat exchanger. (Handy hint: There must be water in the HWS and this switched on and at operating temperature for the 12V heater to operate.)
4. CONNECT THE 12V WIRES
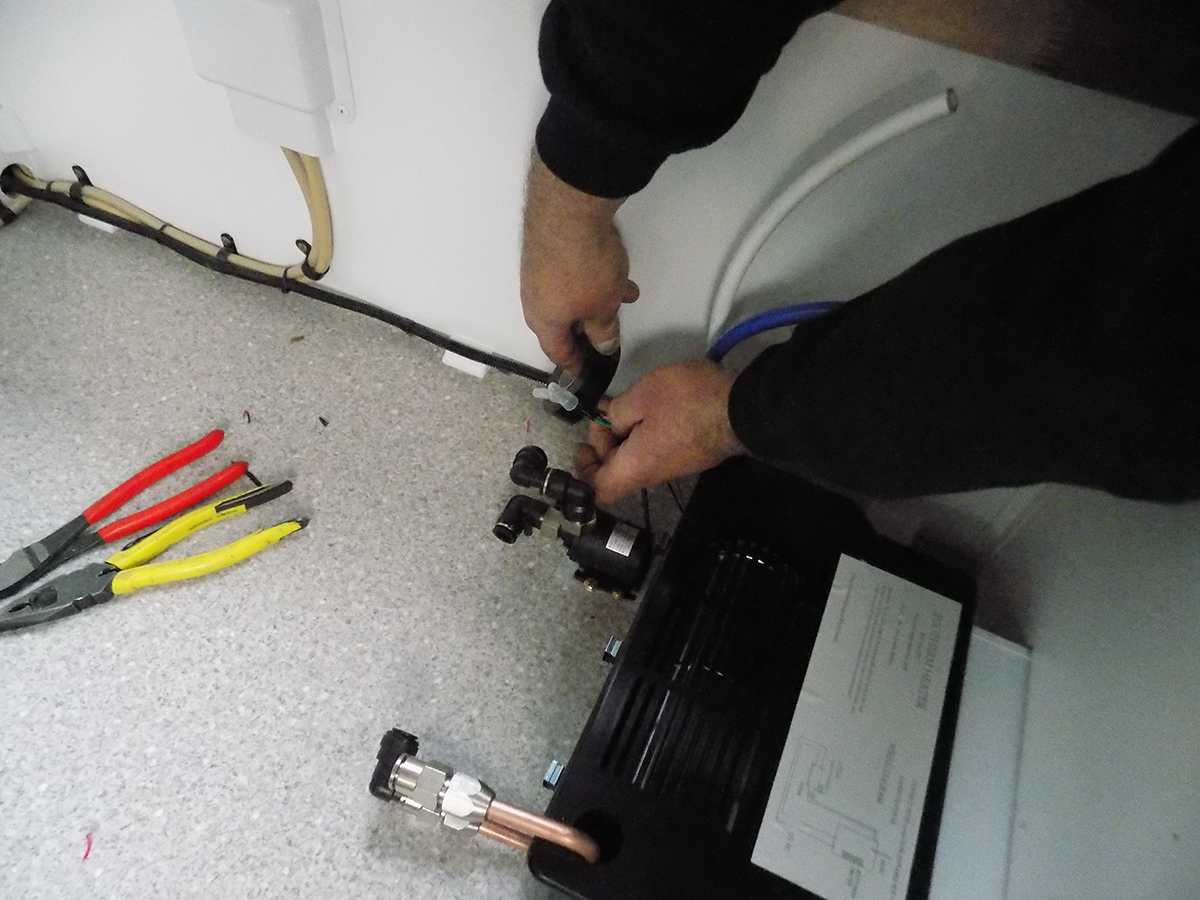
Connect the 12V wires from the Swift heat exchanger unit to the 12V water pump.
5. CUT THE WATER HOSES
Use hose cutters or a Stanley knife to cut the water hoses that run under the RV floor from the onboard HWS to the 12V Swift heat exchanger
6. CONNECT THE WHITE HOSE TO THE HEATER UNIT
Connecting the white colour hose to the Swift heat exchanger unit.
7. FIT THE OUTLET VENT
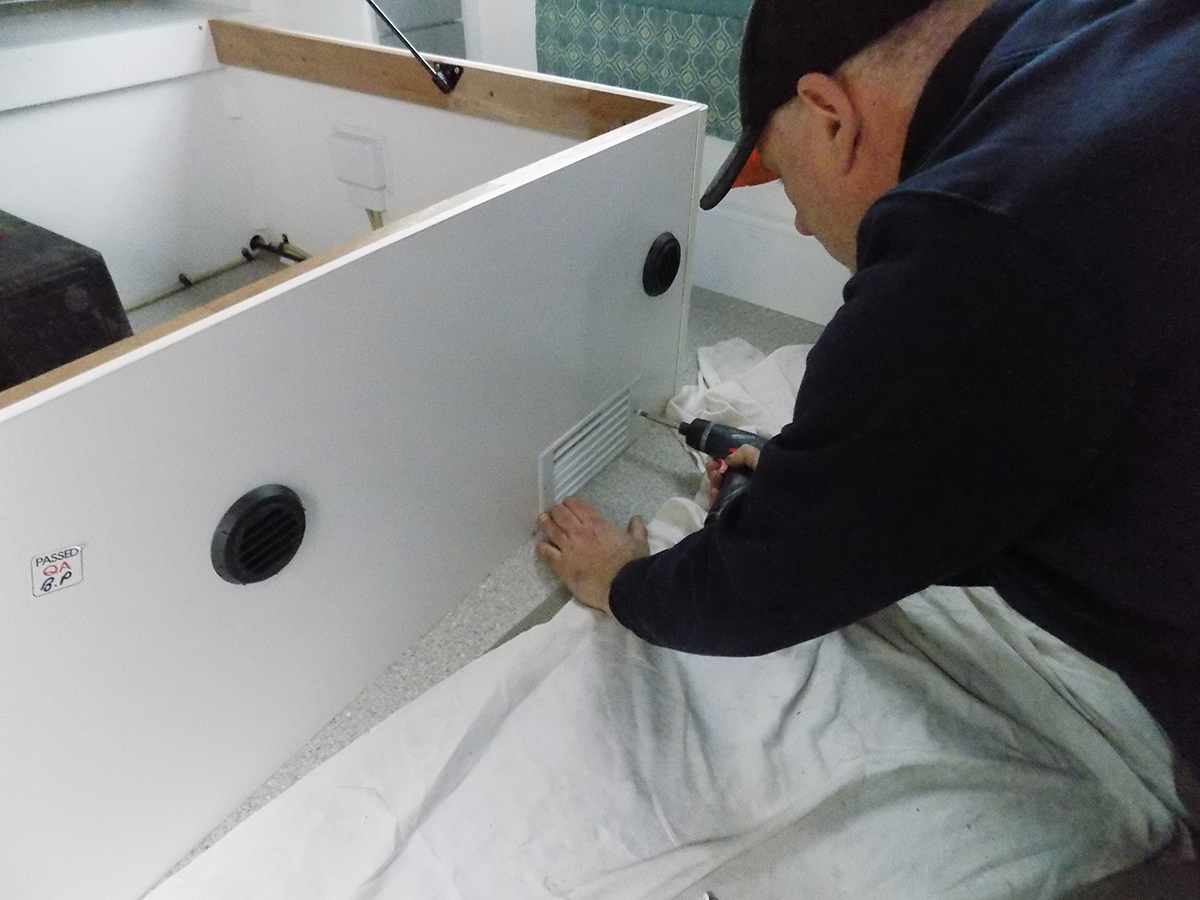
Install the outlet vent cover to the bed base.
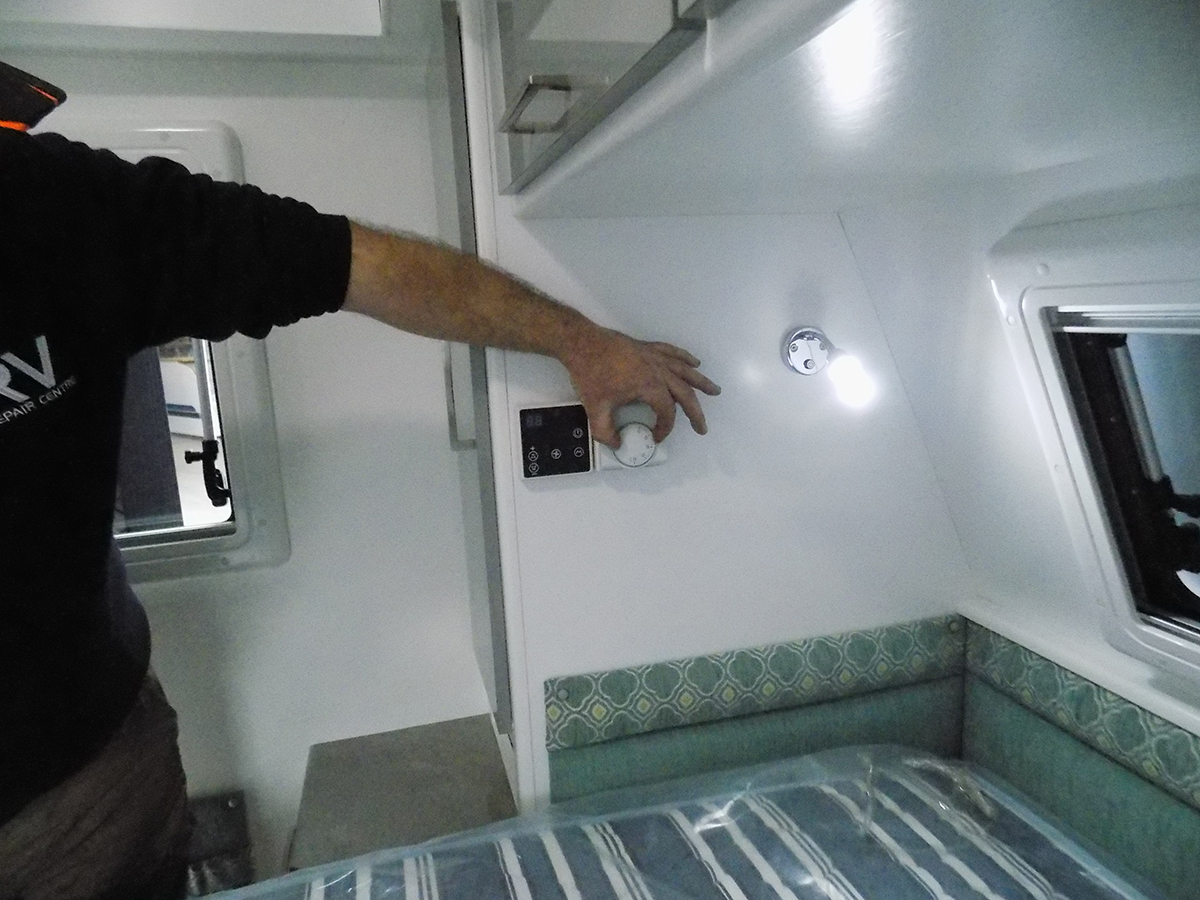
8. MOUNT THE ON/OFF SWITCH
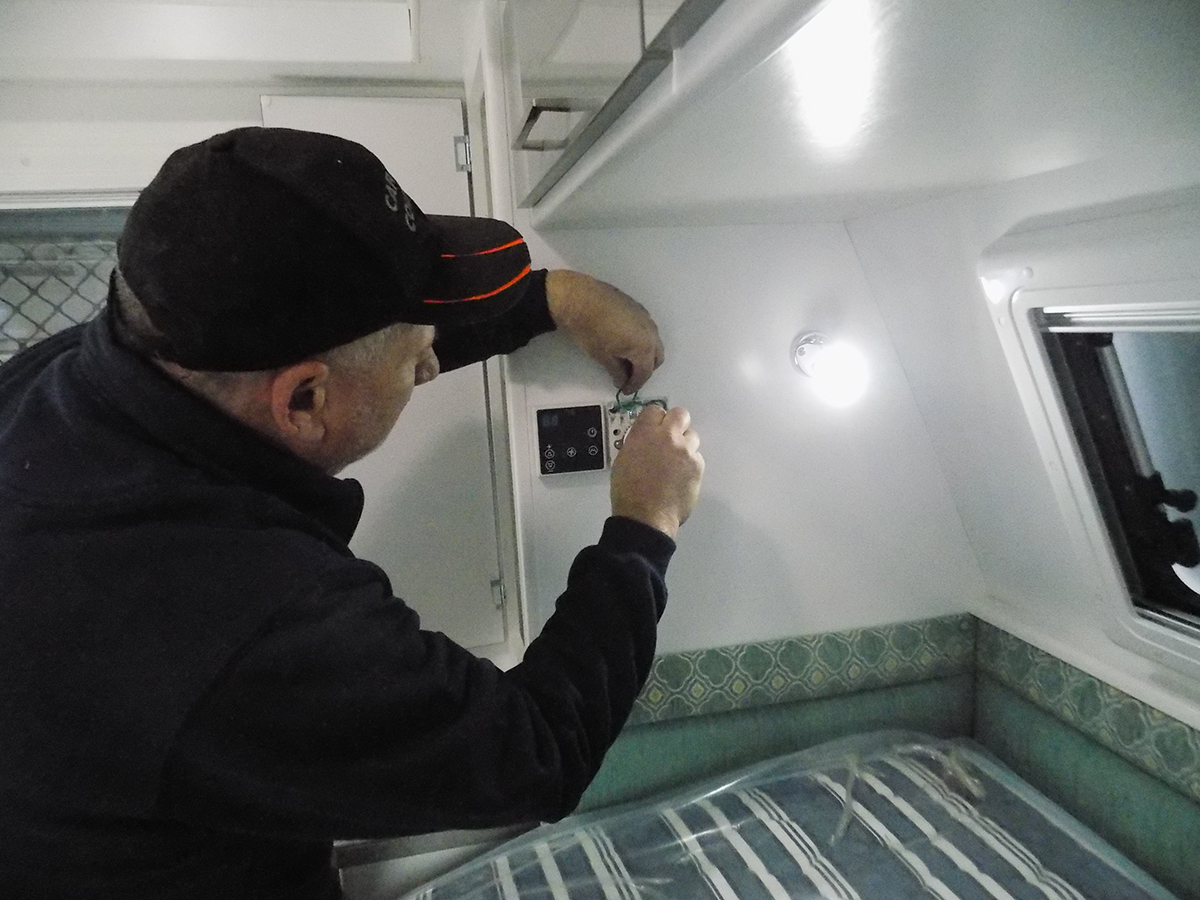
Install the On/Off thermostat switch on a robe wall. The thermostat switch can be installed in other locations and just requires 12V 4mm wire back to the heat exchanger unit.
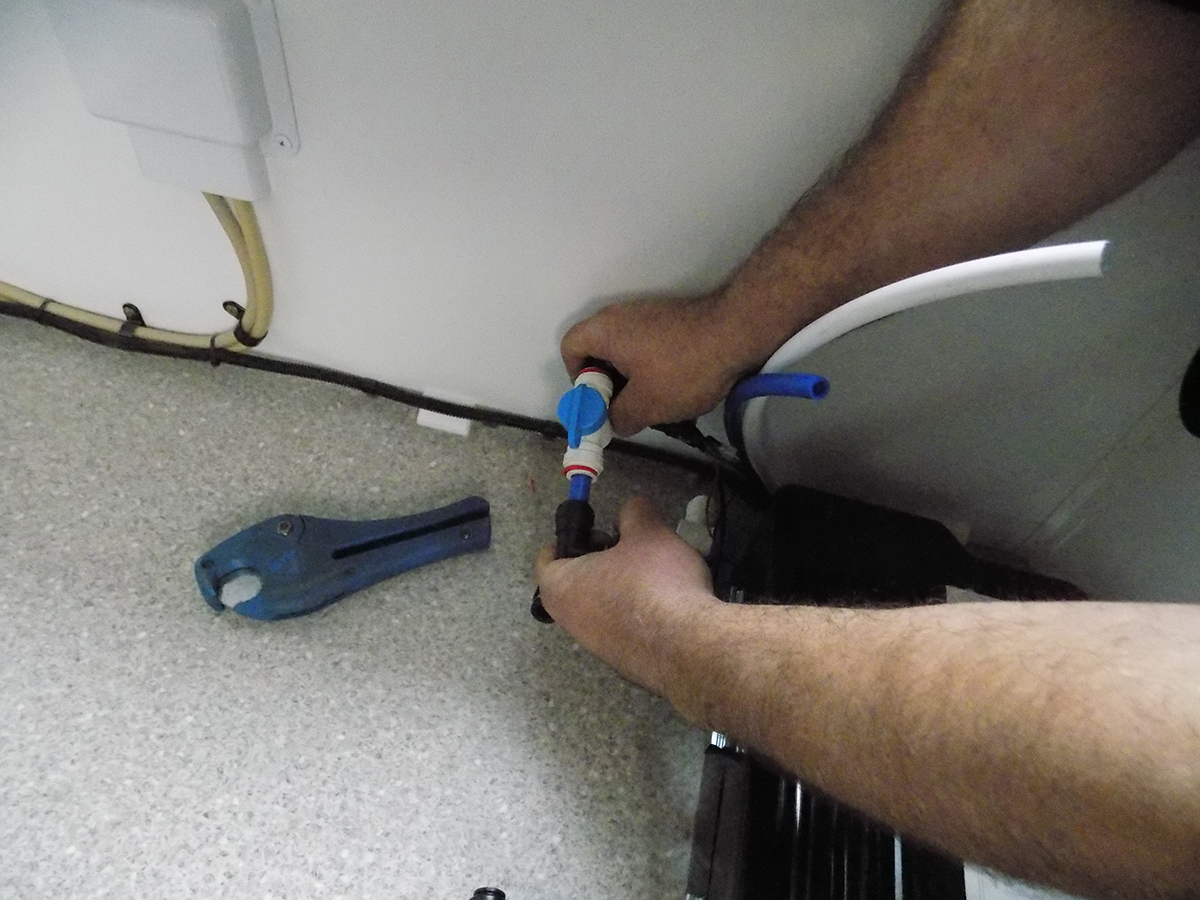
9. CONNECT WATER HOSE AND TAP TO HEATER
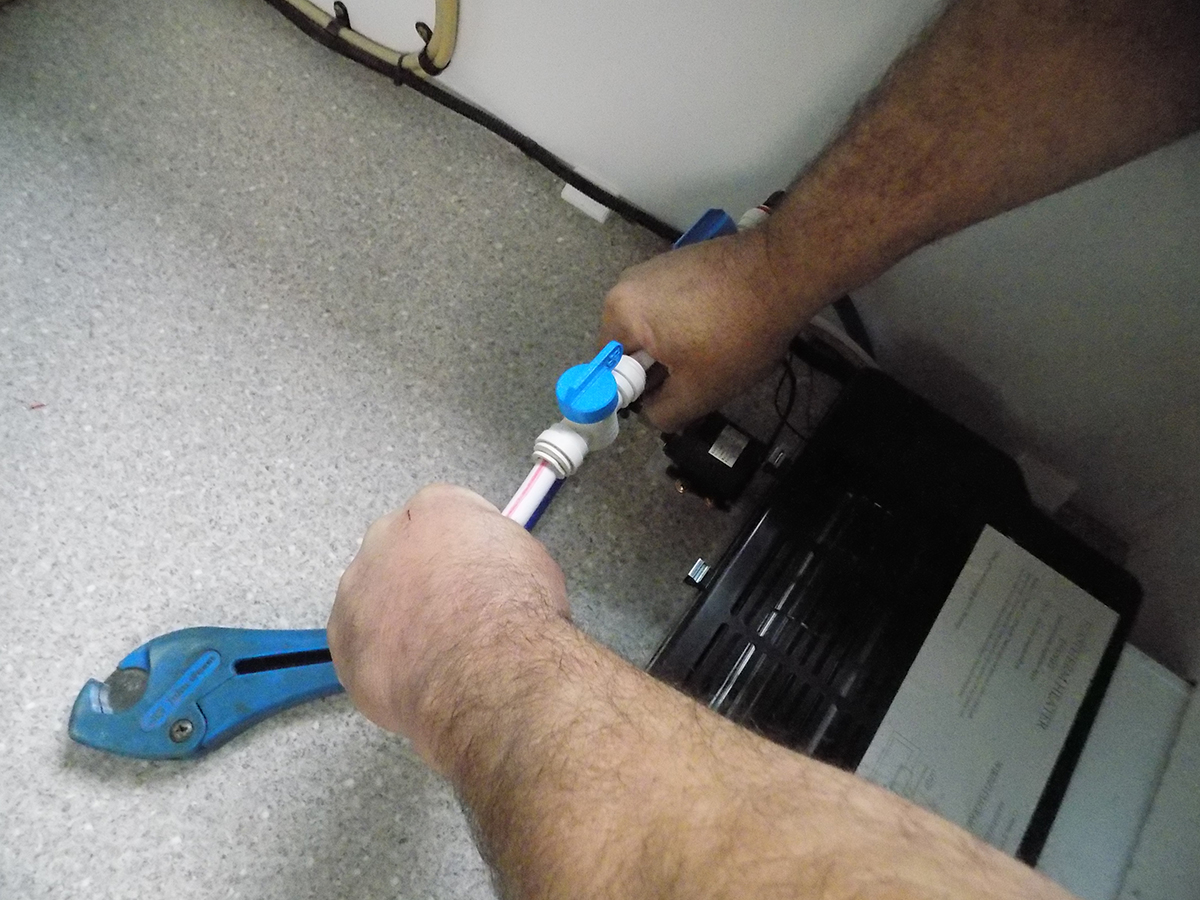
Connect the white colour feed water hose and tap to the Swift heat exchanger.
10. THE FINISHED PRODUCT
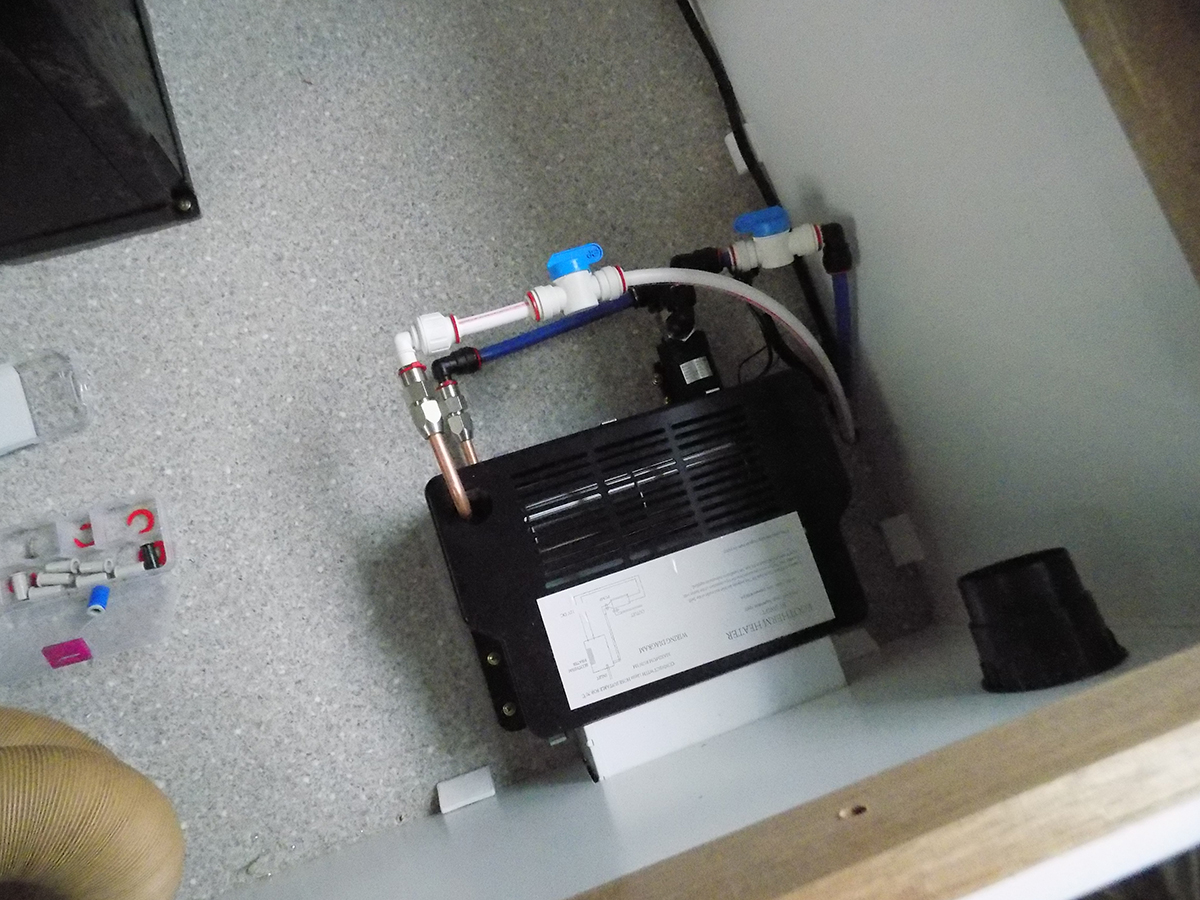
12V heat exchanger unit in place with all hoses and connections installed.
11. TEST THE SYSTEM
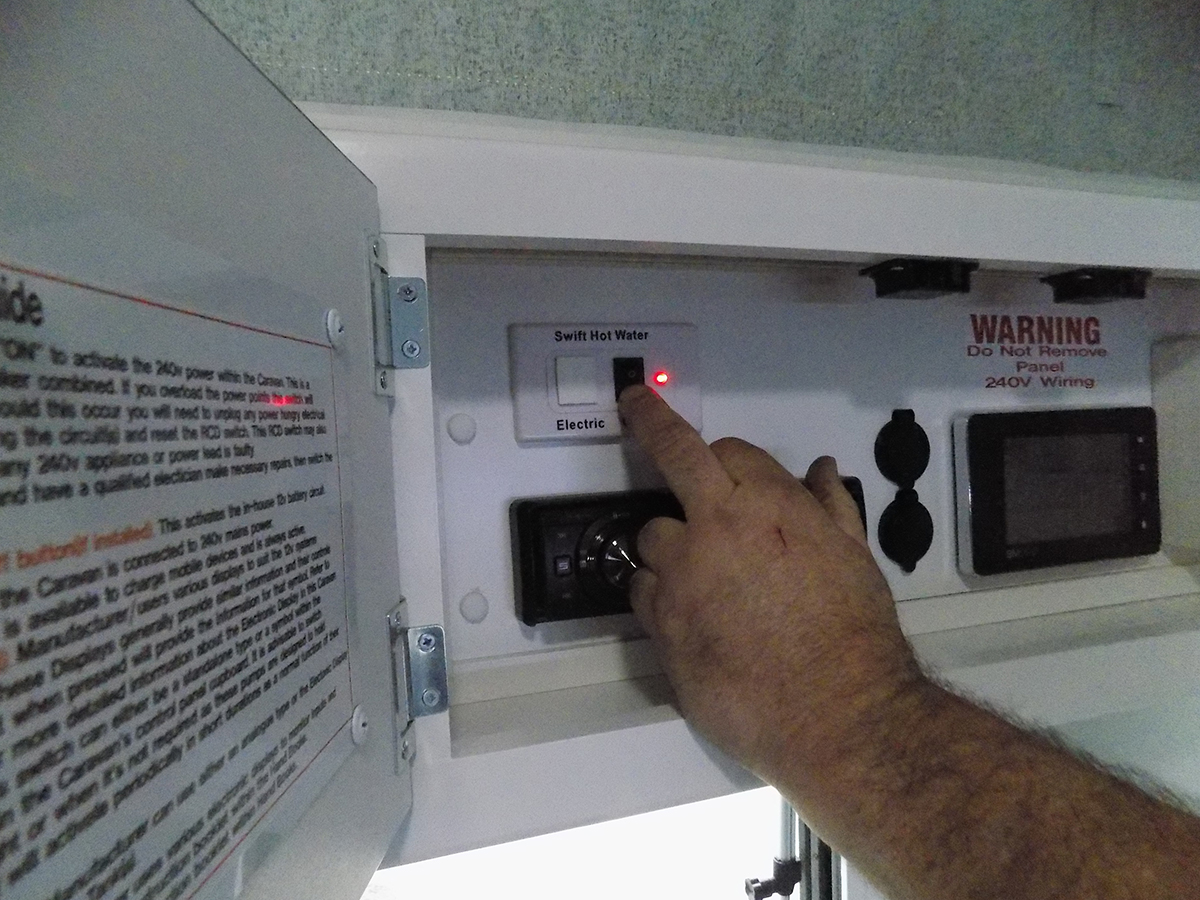
Assuming the Swift 12V heater unit and associated parts are all connected, test the system by igniting the on board HWS and wait until this is up to operating temperature. Bleed air out of the HWS, then turn the water taps on at the heat exchanger unit and switch the unit on at the wall-mounted thermostat and set the 12V fan speed to high. (Handy hint: Check for water leaks at the fittings. It may take up to 3-5 minutes for the entire system to bleed air. All air must be expelled within the water system.)
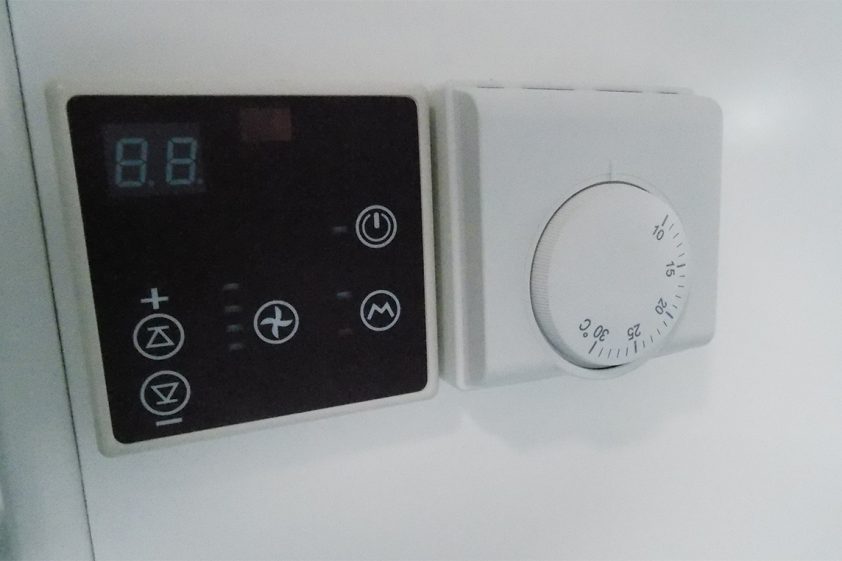
12. SET THE THERMOSTAT
Set the thermostat/fan speed to your desired comfort.
MEET THE AUTHOR
Peter Quilty
With more than 30 years’ journalistic experience, Peter’s brief predominantly centres on editorial reviews for Caravan World and CamperTrailer Australia magazines.
A relative late starter to the trials and tribulations of the RV industry, Peter has been making up for lost time caravanning and camping with his family around Victoria. Initially, Gippsland was the primary stamping ground free camping in idyllic bush settings such as Dargo and Licola, beside the Wonnangatta and Macalister rivers respectively. Other favourite haunts also became ensconced on the family camping itinerary – Jamieson in Victoria’s High Country, Whitfield in the King Valley, Princetown on the Great Ocean Road, and Bright in the Ovens Valley.